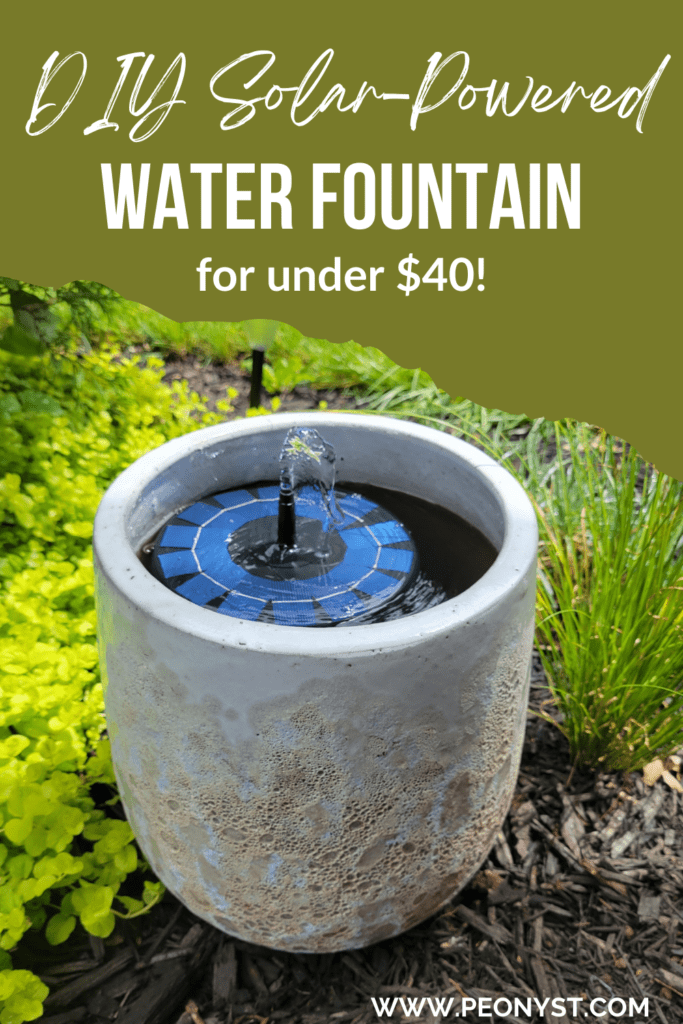
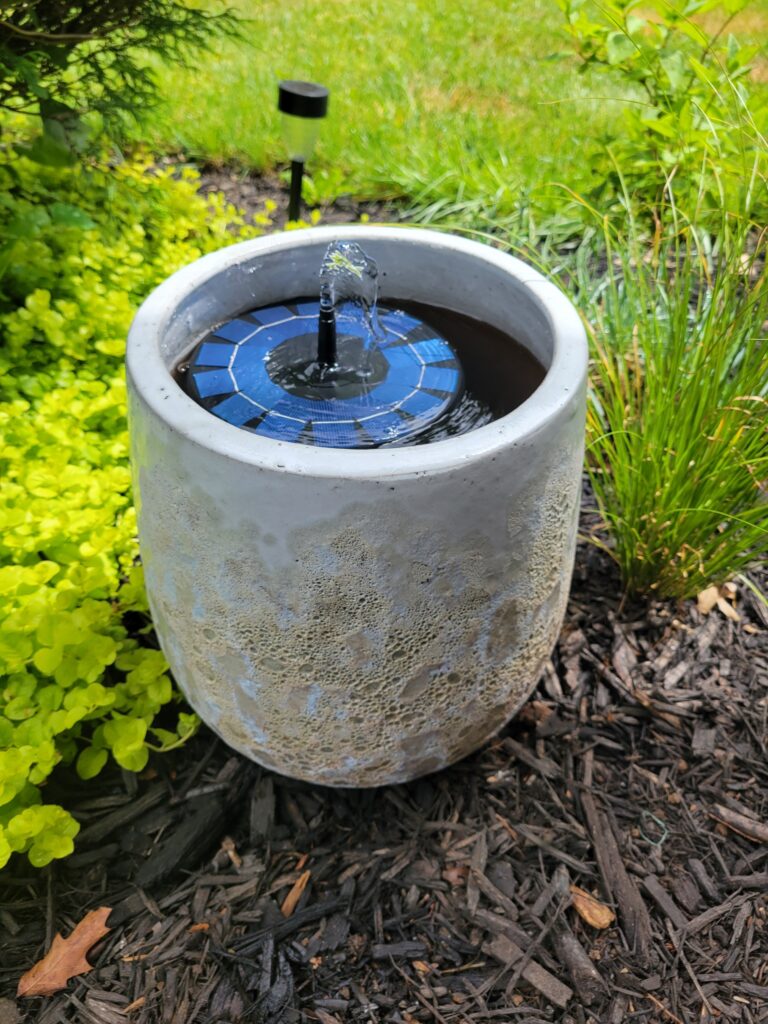
Would you like to add a water feature to your outdoor garden? In this post, I will show you how to turn a planter into a water fountain to create an ambiance for your garden.
I love water fountains. There’s something about the sound of the water that is very soothing. I’ve seen it all over Instagram and was eyeing the limestone trough from Garden Studio Design. I love a rustic look paired with modern plants or landscaping.
My goal is to make a water fountain that is affordable and easy to make. I want to add a water feature to our front yard so I can hear the water when I sit out on the front porch. I also want to add succulents and ornamental grass to add that California-style vibe.

My friend and I went to the Ocean State Job Lot store. They just opened one in our area and it’s quickly becoming one of my favorite stores. They have so many great deals which I love 🙂
They also have great selections of flower pots or planters at a great price. I found this planter for $20 and thought it would be a perfect water fountain. I love the color and the modern style and the size is perfect for our garden.
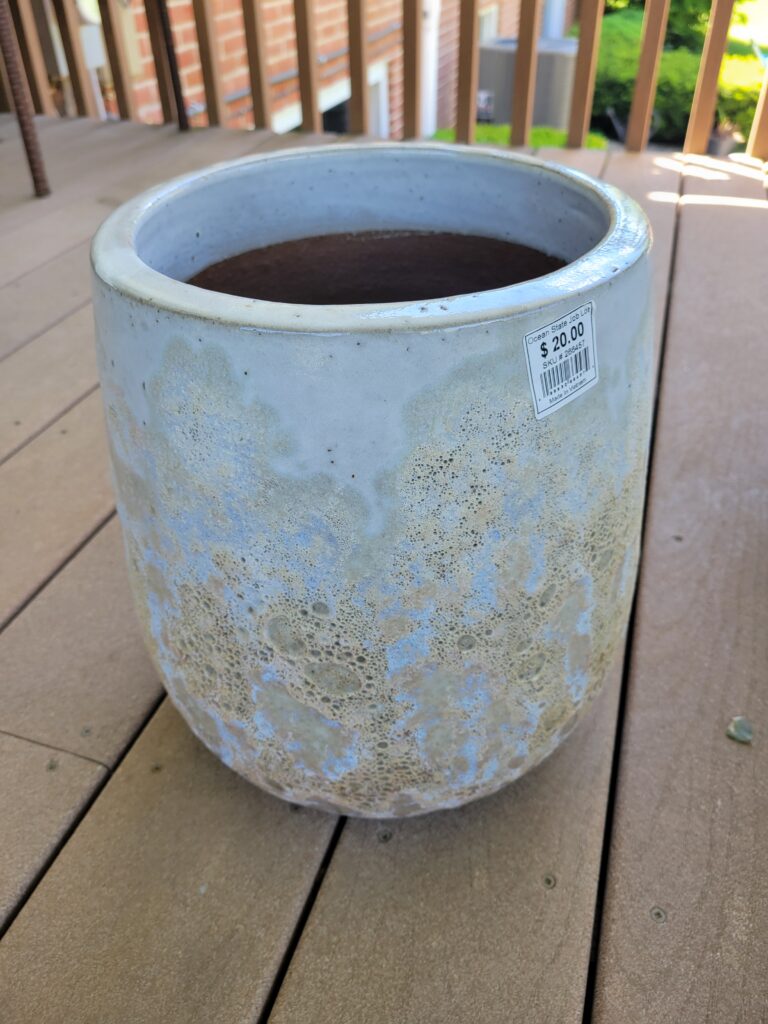
However, it has a hole for the drainage. But don’t worry I got you covered, lol. I solved the problem so you don’t have to 🙂
This page includes affiliate links – full disclosure.
How To Plug or Cover A Drainage Hole in Ceramic Pots
What you’ll need:
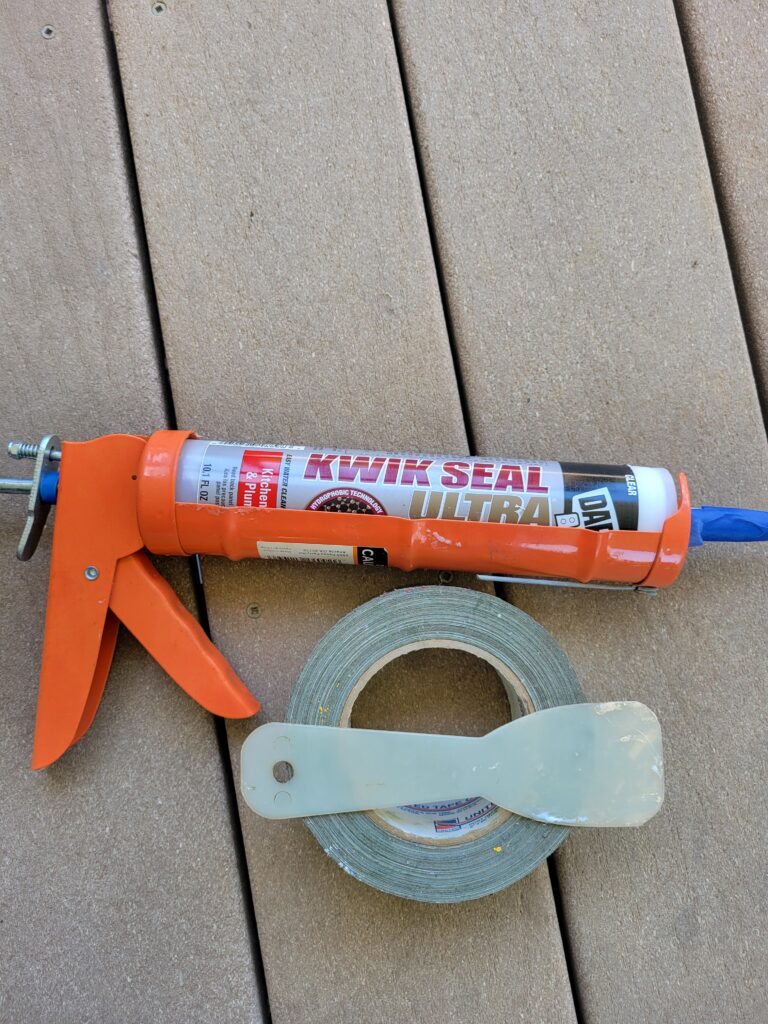
Note: I also used a silicone caulking tool to spread the caulk evenly instead of using my hands 🙂 But any flat plastic or old credit card will work.
Directions:
- Cut a piece of duct tape and cover the drainage hole from the inside of the planter.
- Take the caulking gun and insert the silicone caulk.
- Squeeze a good amount of caulk on the duct tape. I covered the duct tape with caulk to make sure it’s sealed and it’s watertight.
- I used the caulking tool to spread the caulk around the tape.
- Let it dry completely. I let it dry overnight to ensure it’s completely dry before adding water to the planter.
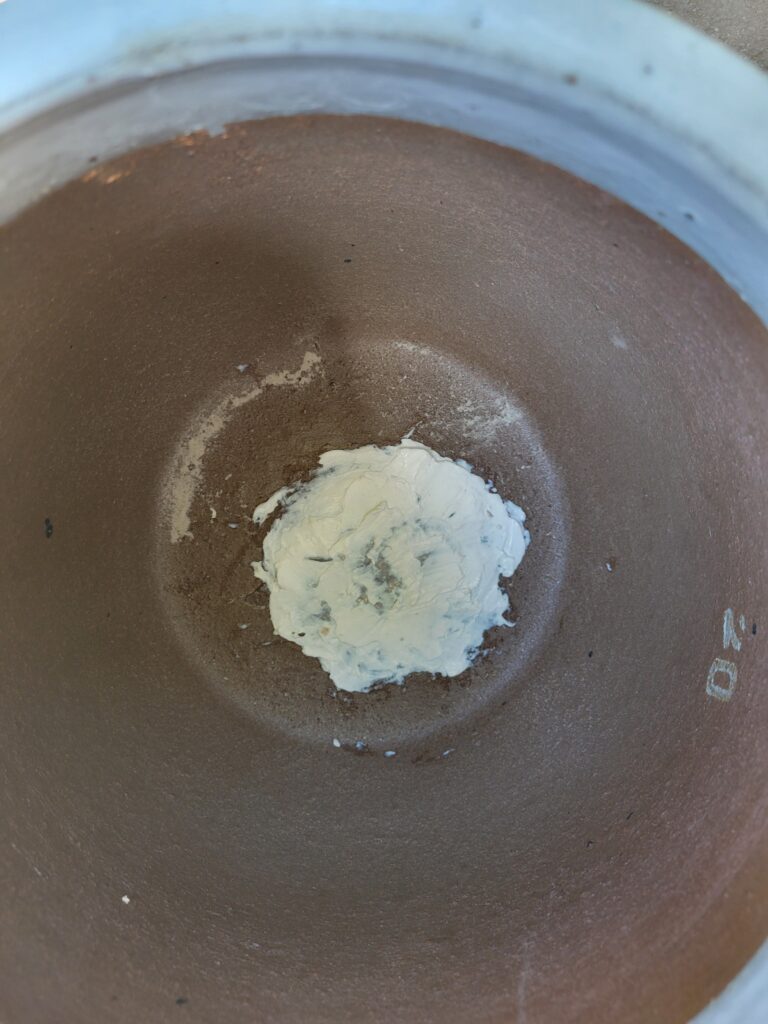
Now that the drainage hole is sealed, it’s time to do the fun part.
How To Make A Solar-Powered Water Fountain Using Planter
What you’ll need:
- Planter or flower pot
- Solar-powered fountain
- Rocks (optional)
Directions:
- I made sure that the drainage was sealed, so I put a little bit of water to test it.
- I used rocks from our pool landscaping but you can use any rocks you prefer. This is not necessary since you won’t see the rocks at the bottom unless you look closely.
- Fill the planter with water.
- Put the solar-powered fountain and enjoy your water fountain 🙂
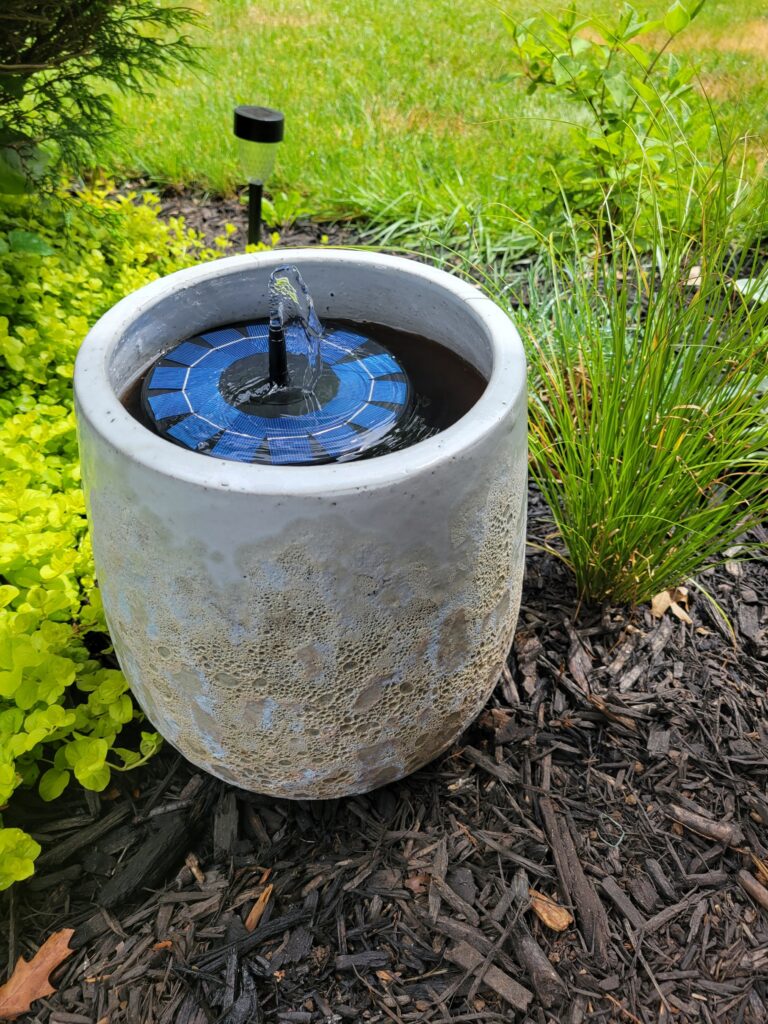
Because the fountain is solar-powered, it must be in the direct sun. It will only work when it’s sunny and doesn’t hold a charge which was disappointing. But I paid $15 for the solar fountain pump and the entire project cost about $35 🙂
The fountain comes with different attachments which are pretty cool. However, it shoots a lot of water so I decided not to use any attachments. If you have a bigger planter, you may want to use the attachments.
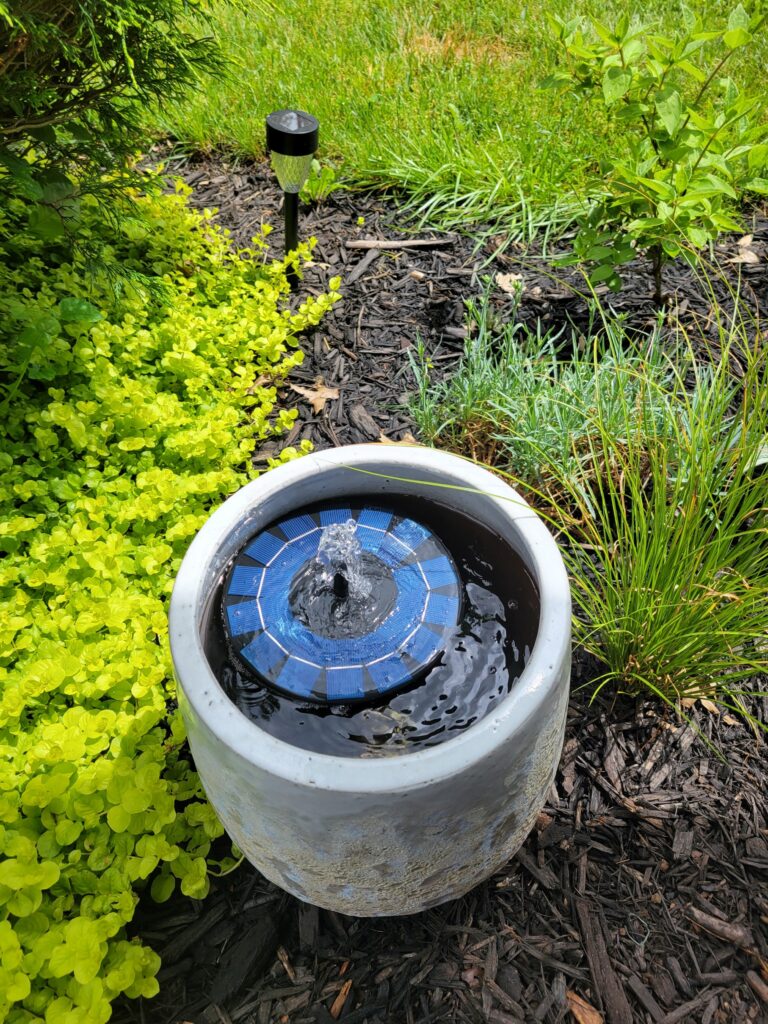
This DIY water fountain is easy to make and does not take long to complete. I love this addition to our front yard and now I enjoy sitting on our front porch more 🙂
Jennabel
Other Posts You May Like:
How To Update Front Porch Wrought-Iron Column

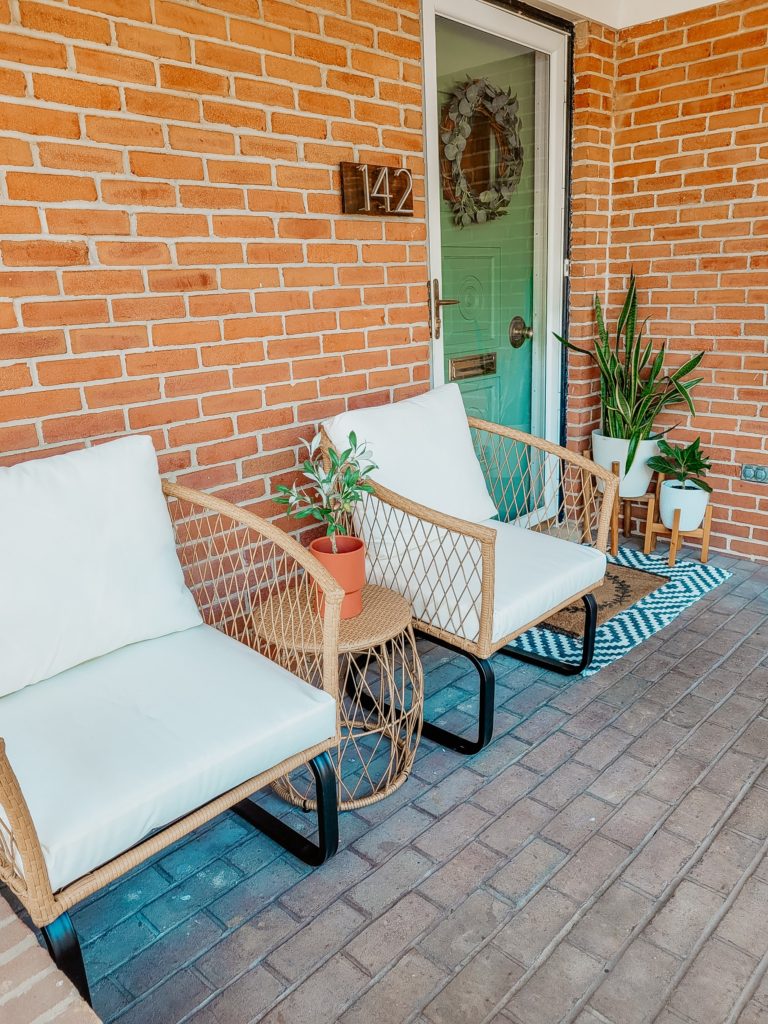
Modern Small Front Porch Furniture Ideas
Pin for later:
