Hi, Friends.
I know it’s not yet Christmas but I wanted inspire you well before the season was upon us. Christmas is my favorite season. I’m in the spirit and decorating by the time November arrives.
As you may already know, I’m a Filipino. Philippines has the longest Christmas season in the world. We start decorating and listening to Christmas music in September. Yes, we do like Christmas quite a bit.
Stay tuned for my 2019 Christmas Home Tour. Until then, you can check out last year’s Christmas Home Tour. Or if you need an inexpensive DIY centerpiece for Thanksgiving be sure to check out this post or that post.
Buffalo plaid is a popular farmhouse decor. I got Buffalo plaid pillows for fall but I’m going to use them for Christmas as well. I love when decor can be used for multiple seasons.
I love when decor can be used for multiple seasons.
Hobby Lobby is one of my favorite places to shop for decor. It used to be Target but they’re pricey. I mean who wants to window shop!? I don’t like going to store where I can’t afford to get what I want, LOL.
That’s why when I need DIY inspiration I go to Hobby Lobby! Plus, they have a far greater selection. This year I found Buffalo plaid ornaments and decided to put my hand to making them.
If you need Christmas decor inspiration, Hobby Lobby is great. Don’t forget to take your coupons or to go to their website to get 40% off one regular price item. Neither Target nor HomeGoods can beat that!
Let’s get started.
Buffalo Plaid Ornament
You will need:
- Buffalo plaid fabric – Hobby Lobby
- ribbon – Hobby Lobby
- Christmas picks for decoration – Dollar Tree
- ornaments – Dollar Tree
- glue gun
- scissors
Directions
Measure and cut the material into strips long enough to cover both sides of an ornament.

Hot glue the material to the ornament.
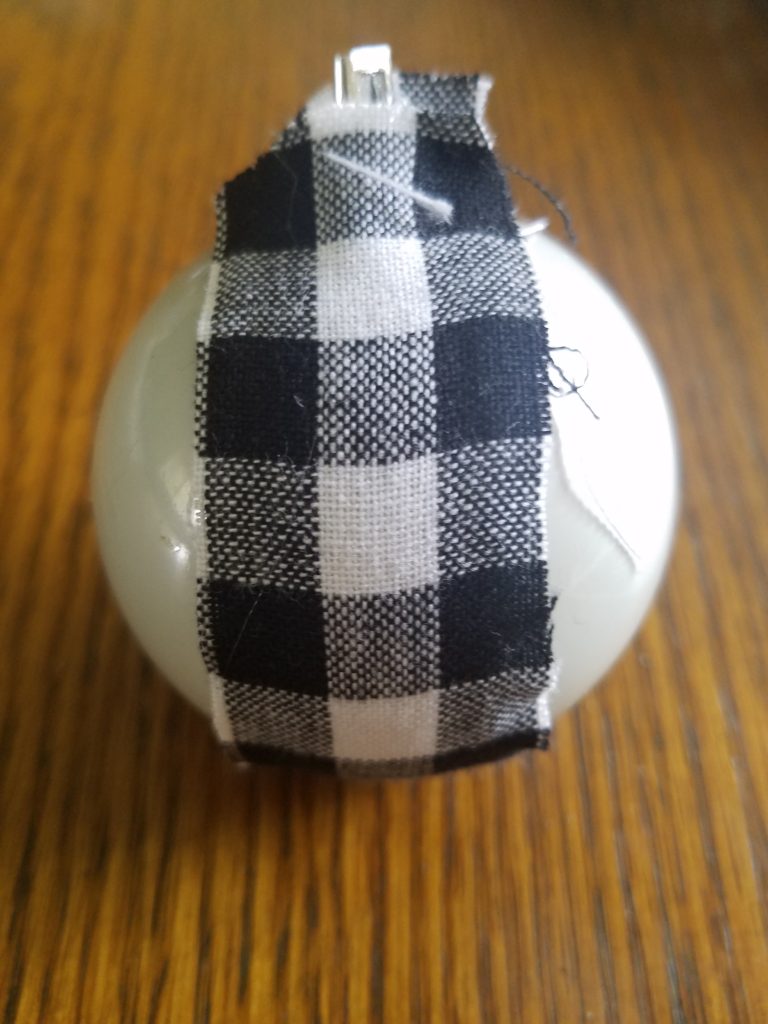
Cut and glue strips until the entire ornament is covered. I used 8 strips.
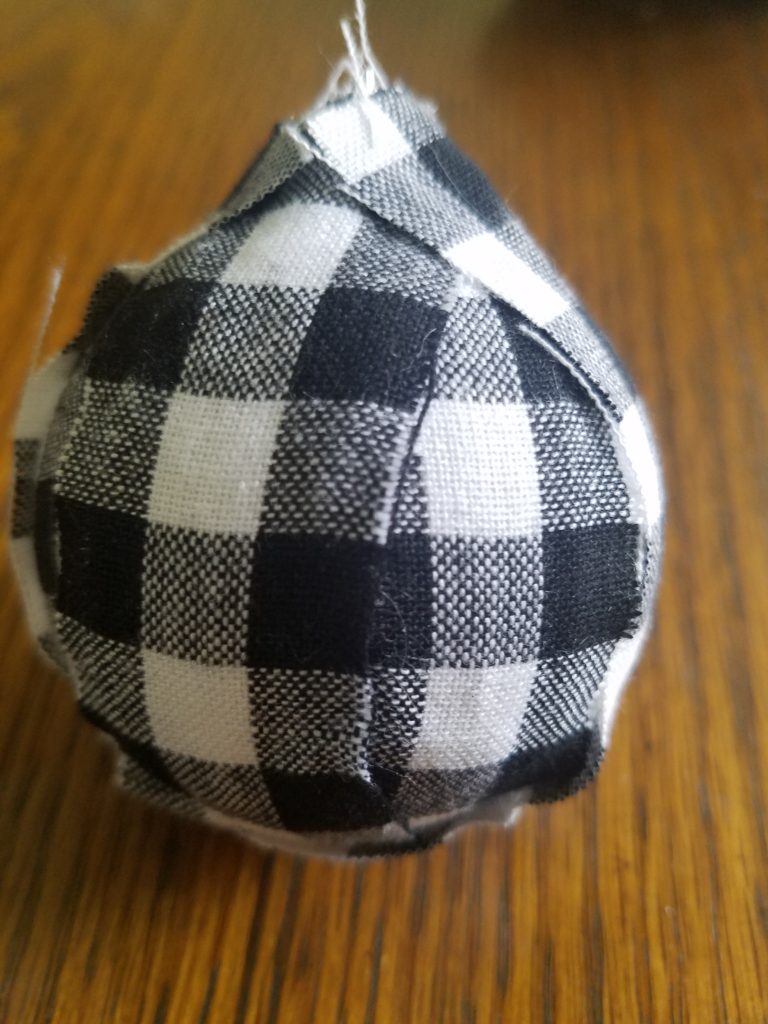
Cut the ribbon and glue it on the ornament. I used 2 long strips but you can use more if you prefer.

It’s time to decorate! Glue berries or any Christmas greenery you like.
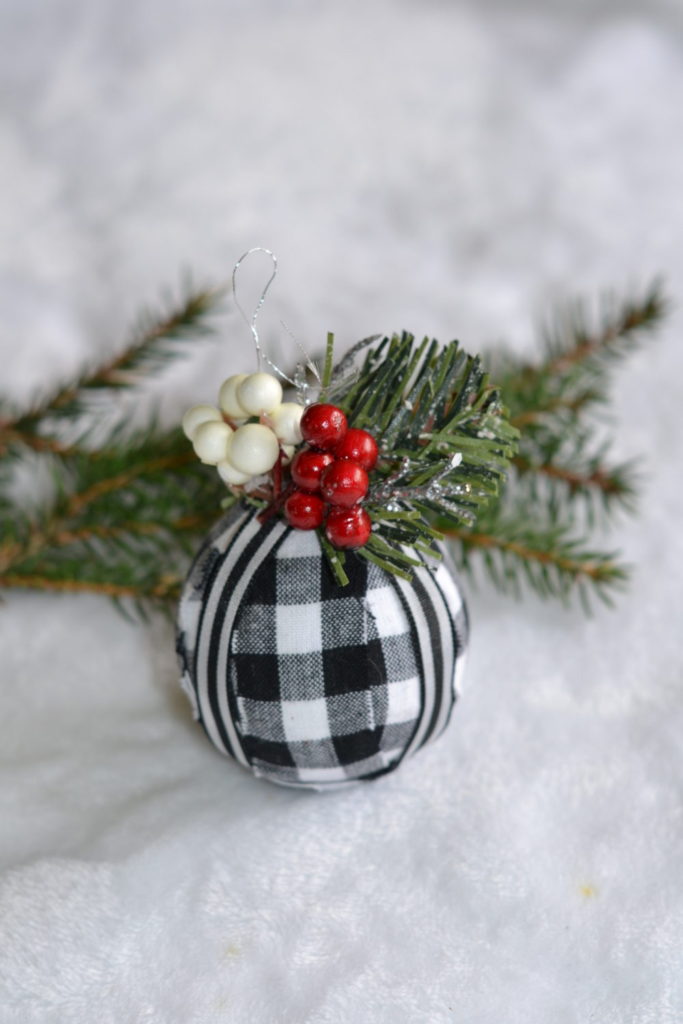
And you’re all done! What do you think?
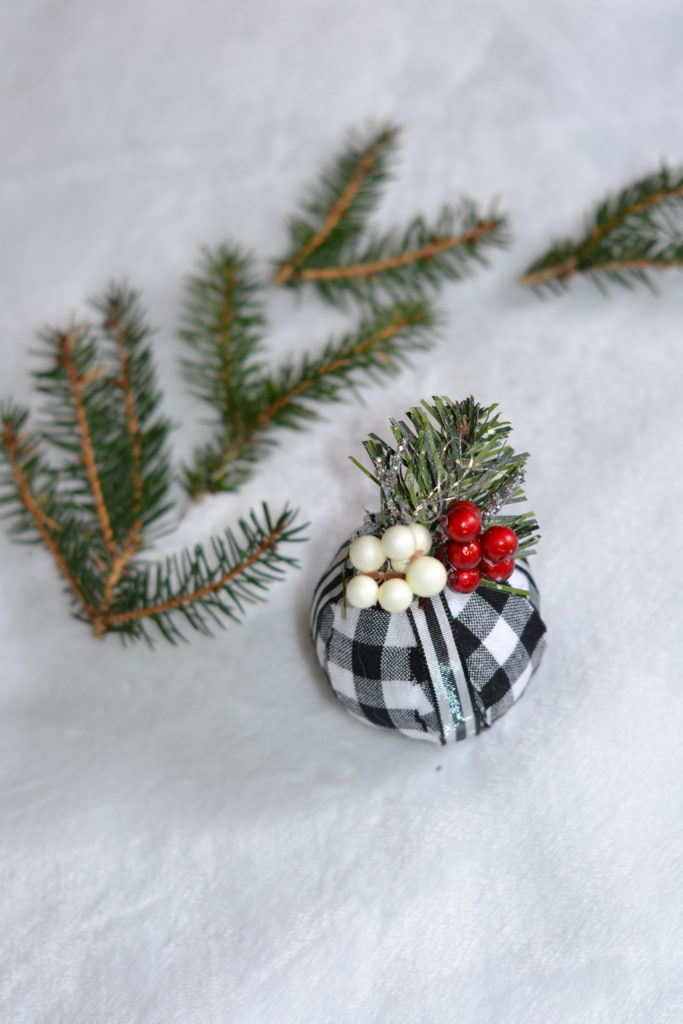
Are you ready for the next project? Let’s get to it.
Buffalo Plaid Tassels
You will need:
- Buffalo plaid fabric
- candle cup 1/4 hole – from Hobby Lobby
- white strings or yarn
- scissors
Directions
Cut the material in strips. I cut 10 strips about 11 inches long. (There will be some fraying, but it’s good to learn to look past imperfections. Life is full of them.)

Take the string and tie the strips in the center.

Take another string and tie it on the strips. You will need this to hang your tassels.
I don’t use hooks. The hoops work well enough for me, but you could add hooks if you preferred.

Take the candle cup and put it through the candle cup hole. Glue the bottom of the cup hole to the fabric.
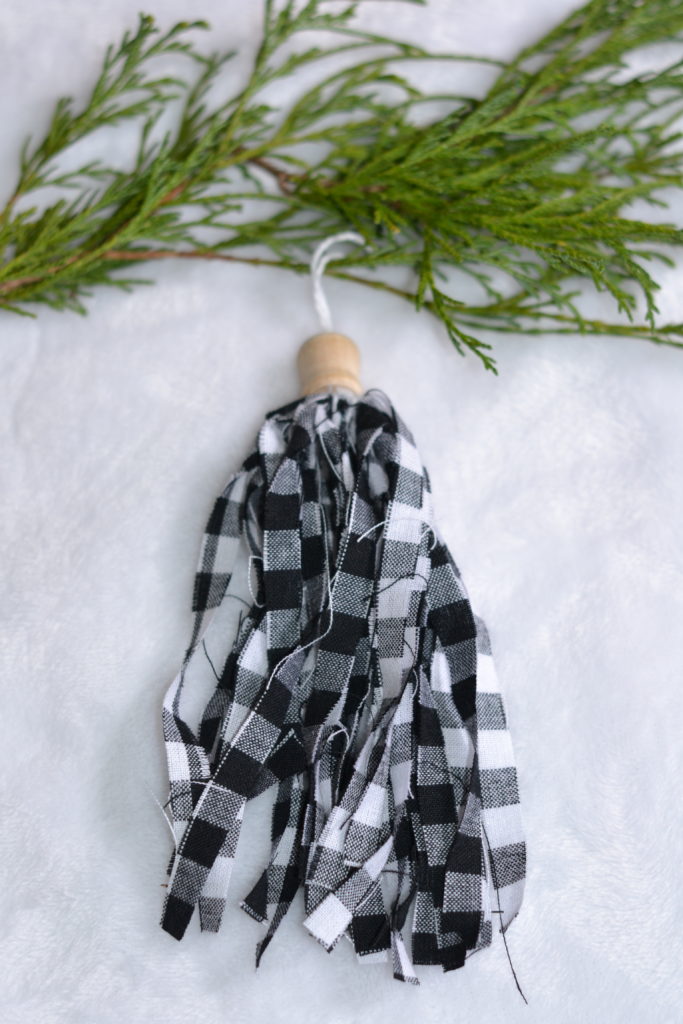
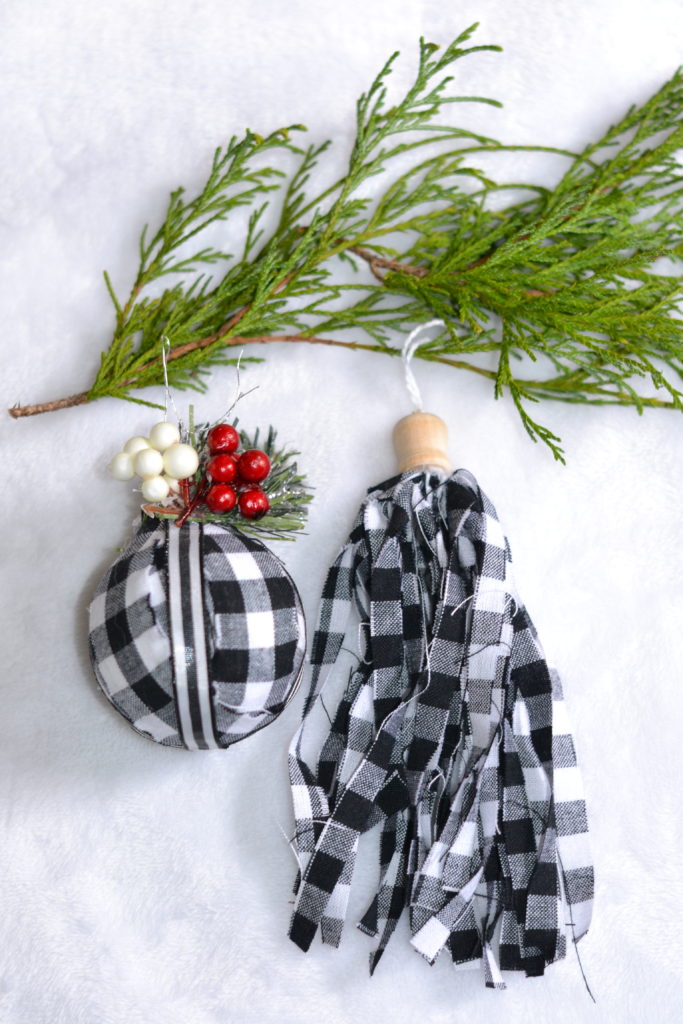
That’s it! What do you think of my DIY Buffalo Plaid Christmas ornaments?
I’ll tell you this. You can buy everything ready-made, but I get a sense of satisfaction in looking at something, like our tree, and knowing that I had a hand in making it. I makes me smile inside.
Jennabel
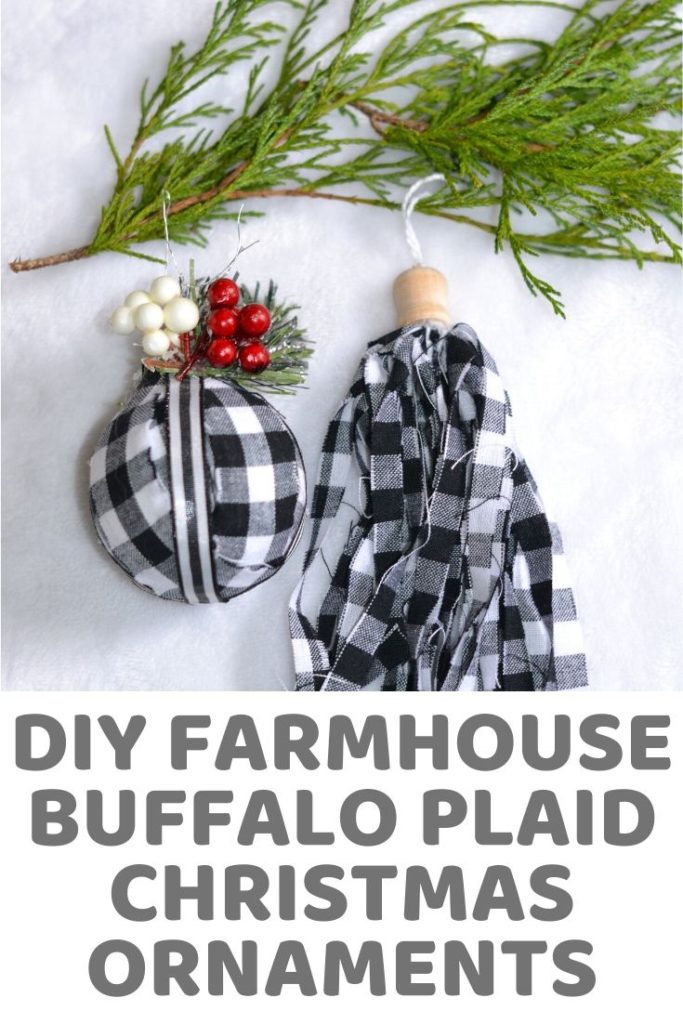
Pin for later:
Wow! That’s amazing how you didn’t even need to glue the tassel inside the candle cup! Quick and easy! Love them!
Yes, it really was. I tried to put the fabric in the cup hole but it was too small. This process is so much easier 🙂
I love the buffalo plaid ornament! I will be making this for sure! Thanks for sharing!!!
Thank you, Jessica. This is my first DIY Christmas ornament. I love buffalo plaid as well. Thanks for stopping by 🙂
will definitely give it a go, thank you, great blog post x
Hi, Ivana. Sounds great. I hope it turns out good. Have fun and thanks for your comment.