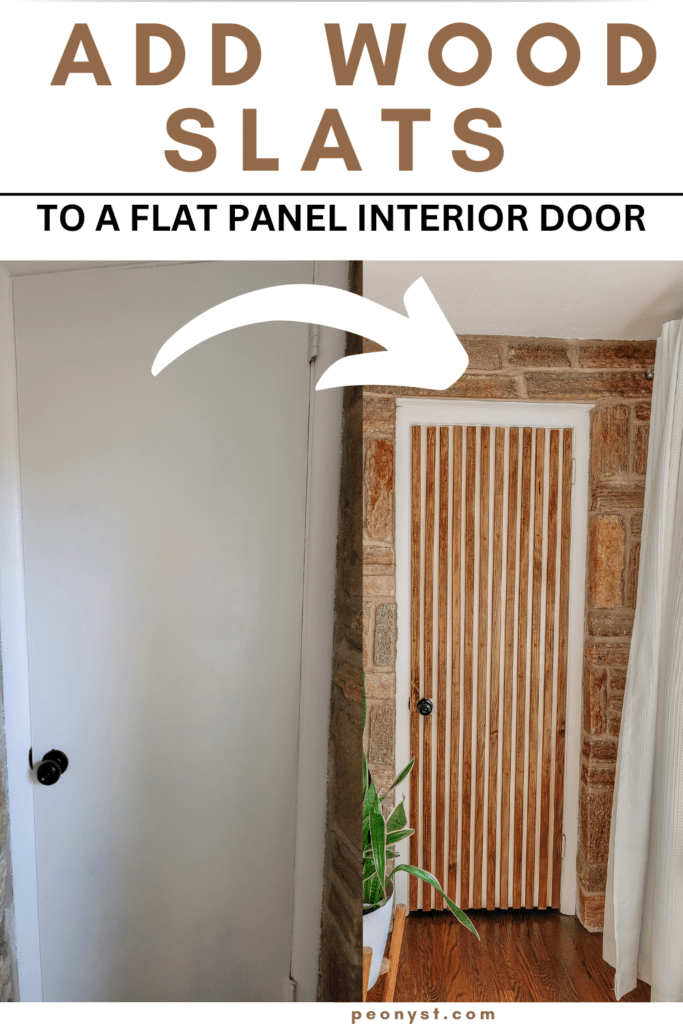
Do you have a plain or hollow core door that needs updating? In this post, I will show you how to easily transform your boring flat panel interior door by adding wood slats.
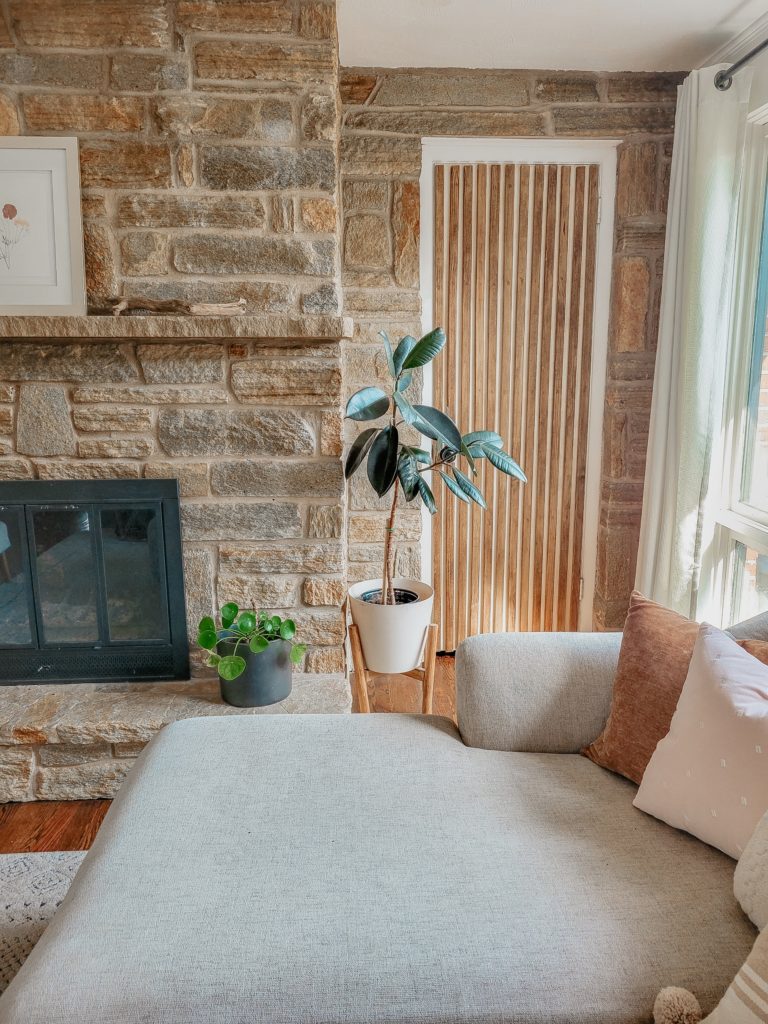
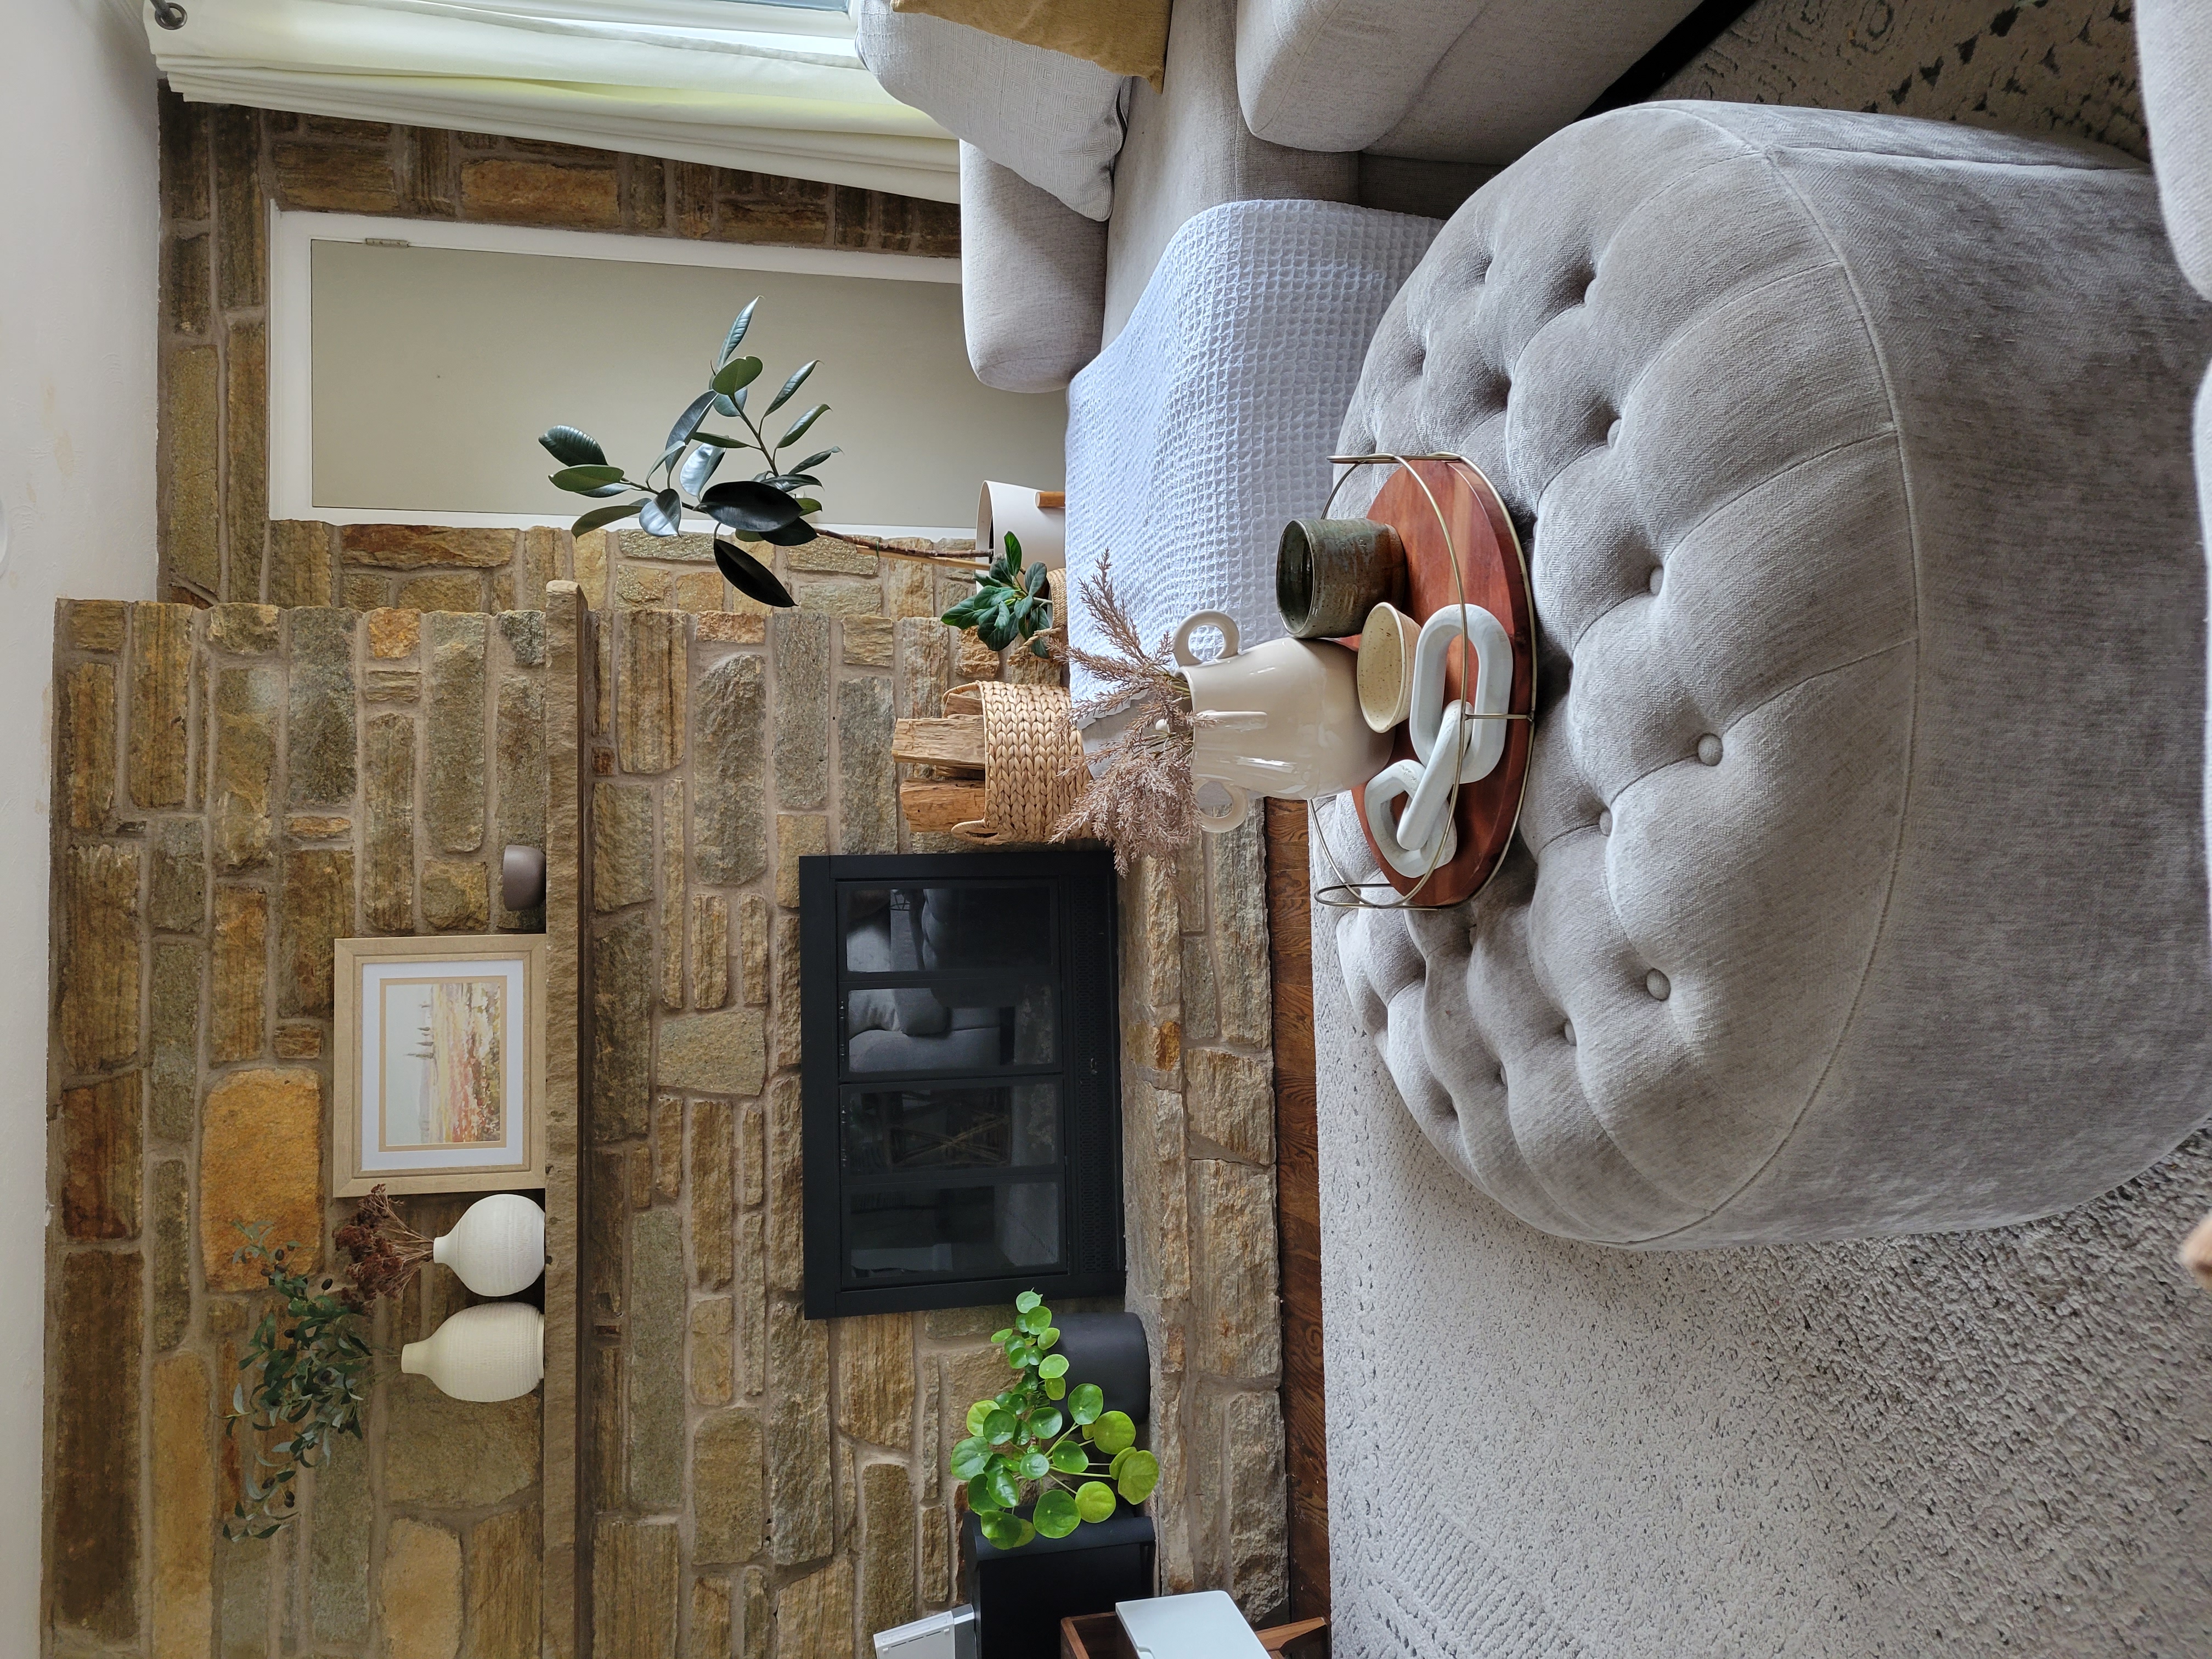
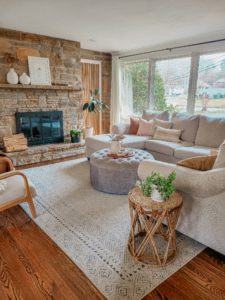
One of the first things that we love about our home is our rock fireplace. It is the main focal point in our living room. It’s one of the first things that people notice when they walk into our home.
Right next to the fireplace is a coat closet. I’m not sure why they put it there but hubby thinks it’s because there’s an extra space between the fireplace and our basement stairs. They don’t want to waste the space so they turned it into a closet.
It’s a good use of space but I would never put the closet next to the fireplace. To me, it looks out of place and an eye sore. Well- maybe not for hubby but it is for me 🙂 I know had to do something about it.
Over the years, I’ve been putting my fiddle fig tree in front of the door to cover it. Now my fig tree is getting so big and tall. We had to go around it to open the closet door. So I had to move it to the dining room and it’s the perfect spot for it.
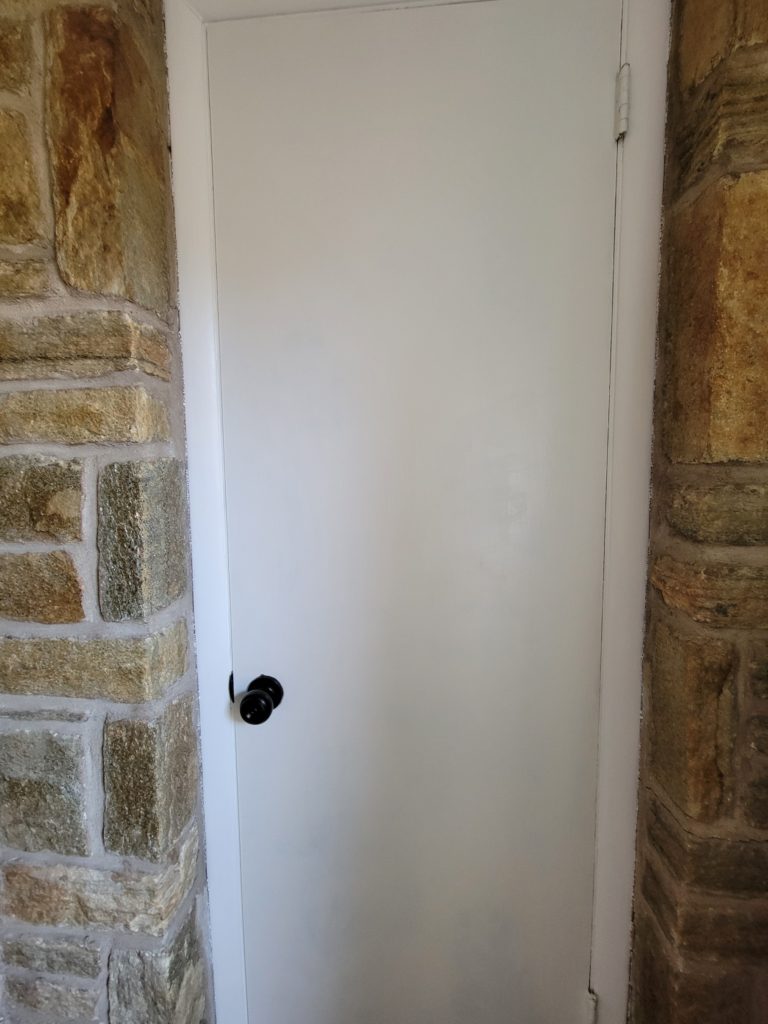
I’ve tried to come out with an idea to do something about the door. I painted it white and installed a new black door knob. But it still doesn’t look quite right.
Slat Wall Inspiration
I’ve seen slat walls all over Instagram and Pinterest. Our home has midcentury modern architecture. Slat walls are popular in contemporary and midcentury modern homes. So wood slat it is!
The only problem is – I’m not handy and neither does hubby!
Hubby doesn’t like to do any home projects and has no desire to learn DIY projects. And I don’t want to pay a contractor to do a simple project. If I want to do any home DIY, l have no other option but to learn how to use power tools.
So, I have to do the projects all by myself (I really wish my dad lives close by). LOL
It was time to finally jump on the bandwagon and figure out how to use power tools. My dad is pretty handy but he did not use any power tools. Power tools scare me but I know I have to face my fear and step out of my comfort zone. Yikes!
I’ve watched and followed many DIY home bloggers on Instagram. I’m so jealous every time I see self-taught confident women who build stuff on their own. Watching them use power tools gave me the courage that I can do it too.
So, I watched tutorials on how to use power tools on Youtube. It’s amazing how we can learn so much just from watching Youtube and never have to get out of the house, LOL. After watching video tutorials, I decided that I need to buy tools.
I want to start with a few tools and see if this is something I enjoy and buy more tools over time. I ordered a nail gun, a jig saw, and a workbench on Amazon. I don’t want to commit to buying expensive tools and end up not using them.
Shopping for Wood
I went to Home Depot to shop for wood prices. It was my first time walking in the wood aisle all by myself. It felt weird to shop in a store where most of the shoppers are men. I saw a couple of men in the aisle and they were giving me looks. I asked myself, do I really want to do this? LOL.
I did not buy the wood on that day but I found one that I think would work. I’m a complete amateur and don’t have a clue what prices meant, haha. I had to ask a saleslady what the price meant. What can I say, I never bought wood at a hardware store before, LOL.
I finally figured out the price of the wood. It cost $1.14 per LF(meaning linear foot). Duh! I only know the items that are priced per square foot, not LF haha.
I wanted skinny wood slats but it would cost more if I buy the wood that is priced per linear foot instead of per piece. So I shopped more and found this 1x2x8 pine and it cost $2.58 each. Not too bad.
This page includes affiliate links – full disclosure.
How To Make DIY Slat Door
Supplies:
- 12 – 1x2x8′ pine boards
- nailgun
- 1 1/4 – 1 1/2 inches brad nails
- jigsaw or miter saw
- stain
- sandpaper
- wood glue (optional)
Directions:
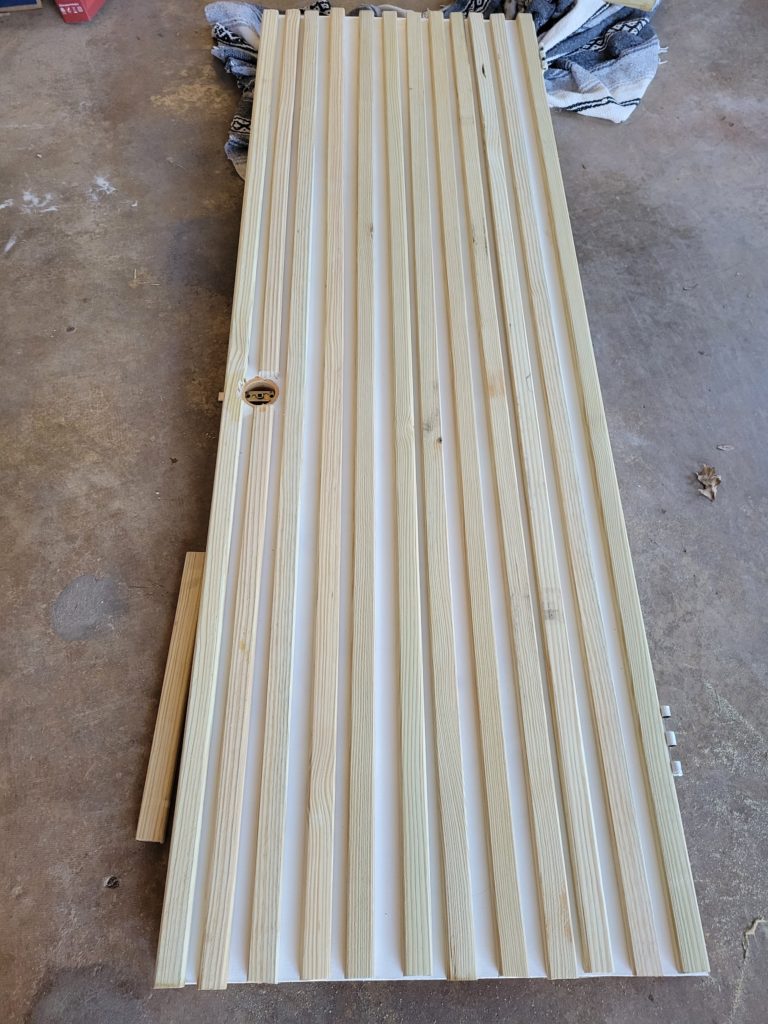
Measure the door and determine how many pine boards you’ll need. I used 12 pine boards but I could’ve used more. In my experience, it’s always better to have extras than to not have enough wood. Home Depot will accept returns as long as it’s not cut and remember to keep the receipt.
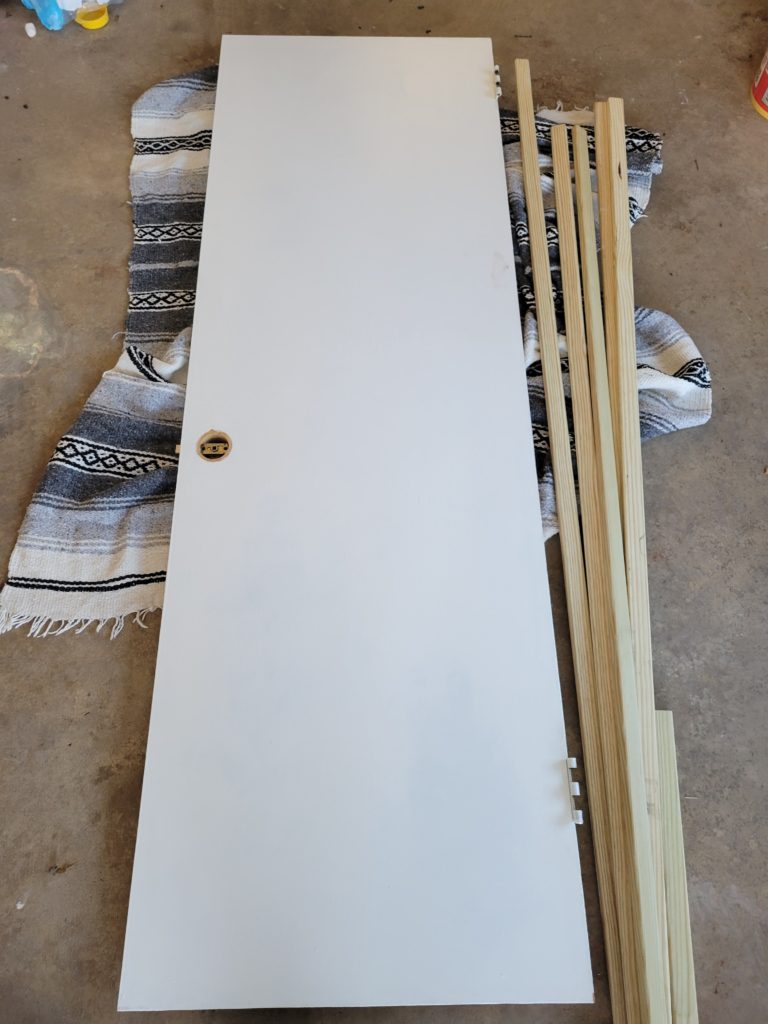
Cut the boards. This will depend on how tall your door is. Our door is 79 1/2 inches tall. I used this jigsaw to cut the wood. Using a jig saw takes longer than using a miter saw. I’d recommend using a miter saw if you own one, for a cleaner, straighter cut.
Remove the door and determine the spacing of each board. I did 1 inch of space between the boards. If you prefer the slats to look closer, I’d recommend 1/2 inch to 3/4 inch spacing. I used the extra wood to use as spacers.
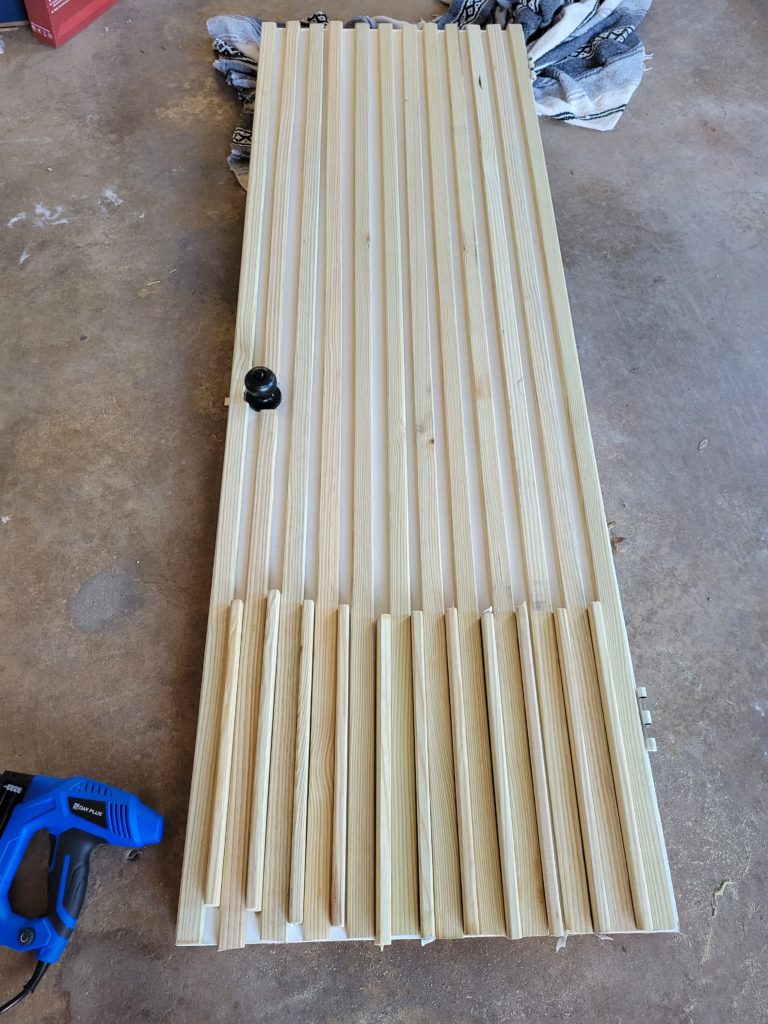
Nail the boards using a nail gun. I used 4 nails for each board. I did not use nail glue because it’s very strong and would damage the door if ever I want to remove the slats.
If you have a hollow core door, I highly recommend using nail glue. This will give better adhesion in addition to the brad nail. Put the glue on first and then nail them to the door. We have a solid wood door, so I think that using nails works. But I can add more nails if the boards move or become loose over time.
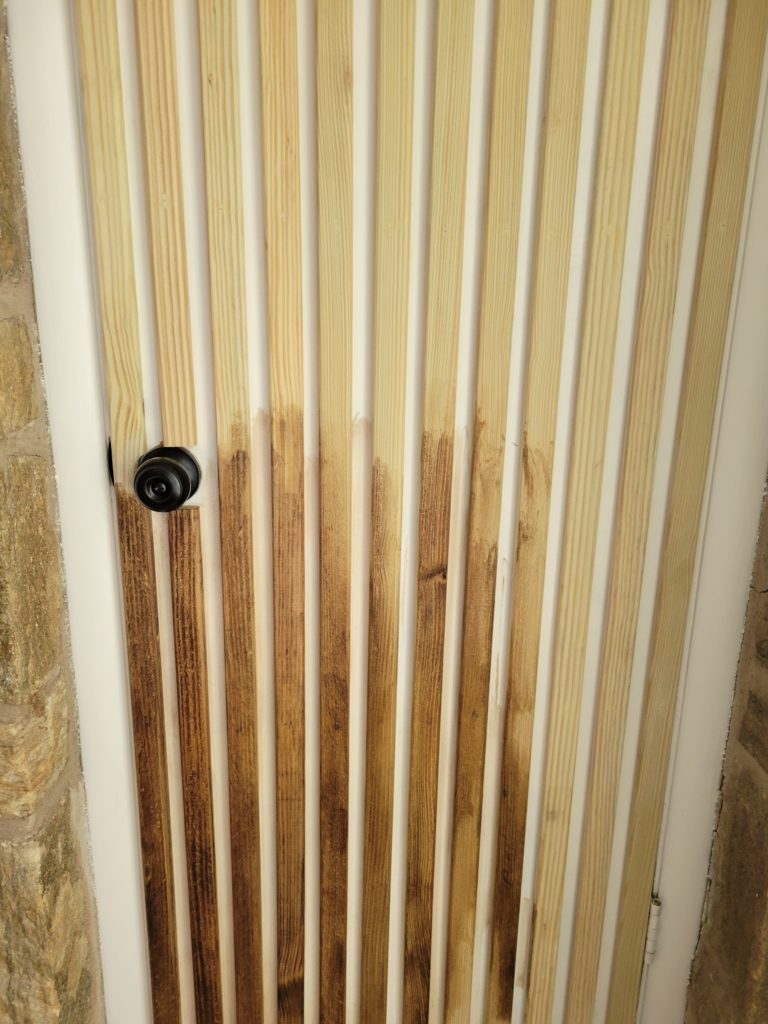
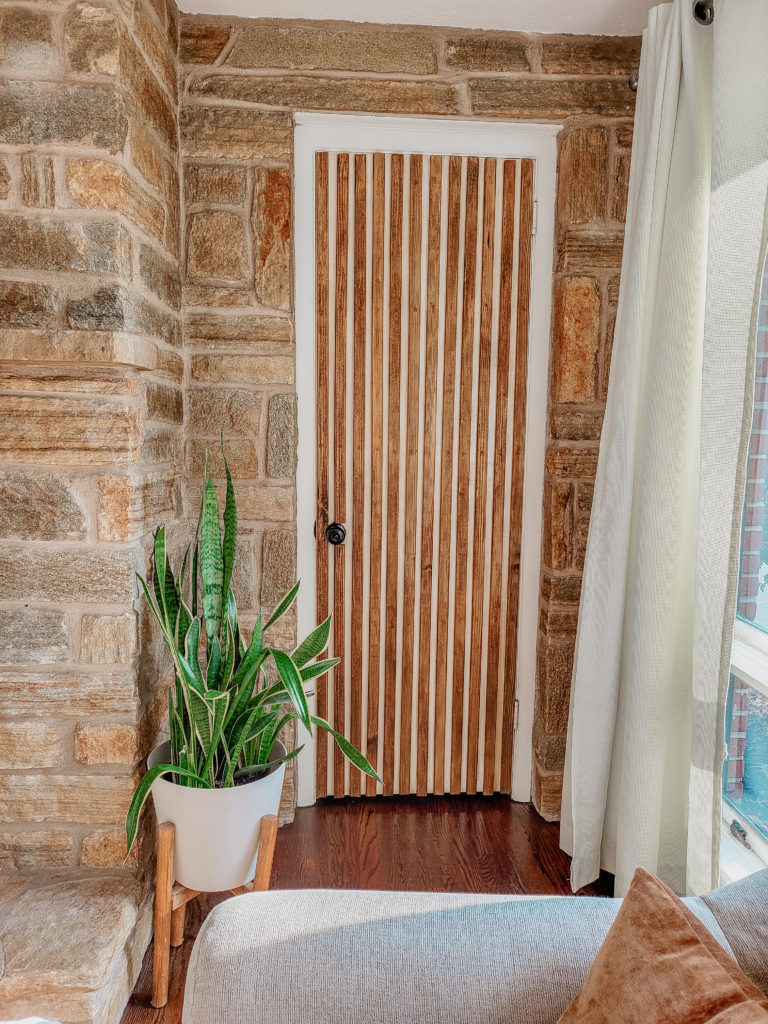
Sand and stain boards. I decided to stain the slats and used early American stain. The rich brown color compliments our home’s midcentury vibe. If you want a more coastal or natural look, I’d recommend using a matte water-based topcoat. I did not seal the boards because it’s in a low-traffic area.
Reattach the door and admire your work 🙂
I made a reel on my FB page on how I did it. To check it out, click the link below.
https://www.facebook.com/reel/203641965589426
You know what? Using power tools wasn’t that scary after all. When I started using the jigsaw, I wasn’t comfortable at first but it was not so hard. The lesson here is, you don’t know what you’re capable of until you do it. Once you overcome your fear, it makes you feel strong and empowered.
I was so nervous thinking about the whole project and even prayed that God will give me strength. And guess what? He answered my prayer. When I started using the power tools, I wasn’t scared at all!
I’m here to encourage you that power tools are not as scary as it looks. Don’t get me wrong, there are power tools that are scarier than others. Chainsaws and table saws are one of the tools that intimidate me. Mainly because it’s so loud and you can really get hurt if you don’t know what you’re doing.
I am happy with how this DIY slat door turned out. I am proud of myself for stepping outside of my comfort zone. If you are new to DIY, then this project is perfect for you! Would you try this DIY?
Jennabel
Other Posts You May Like:
Small Living Room Decorating Ideas
DIY Textured Vase Using Baking Soda
Pin for later: