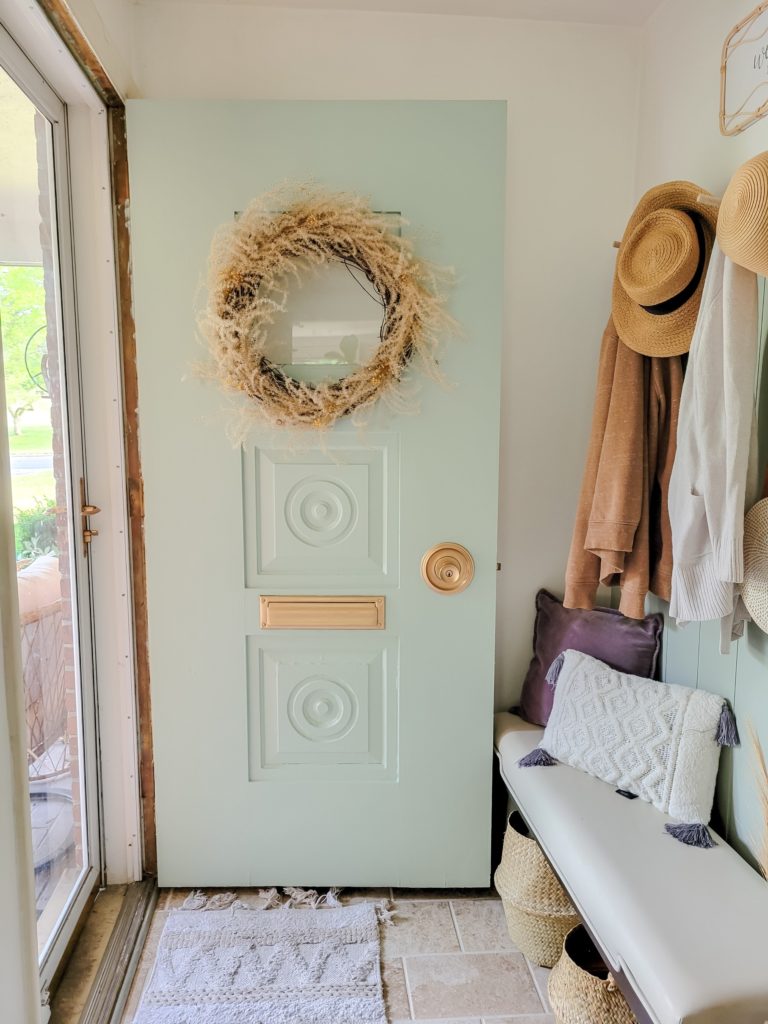
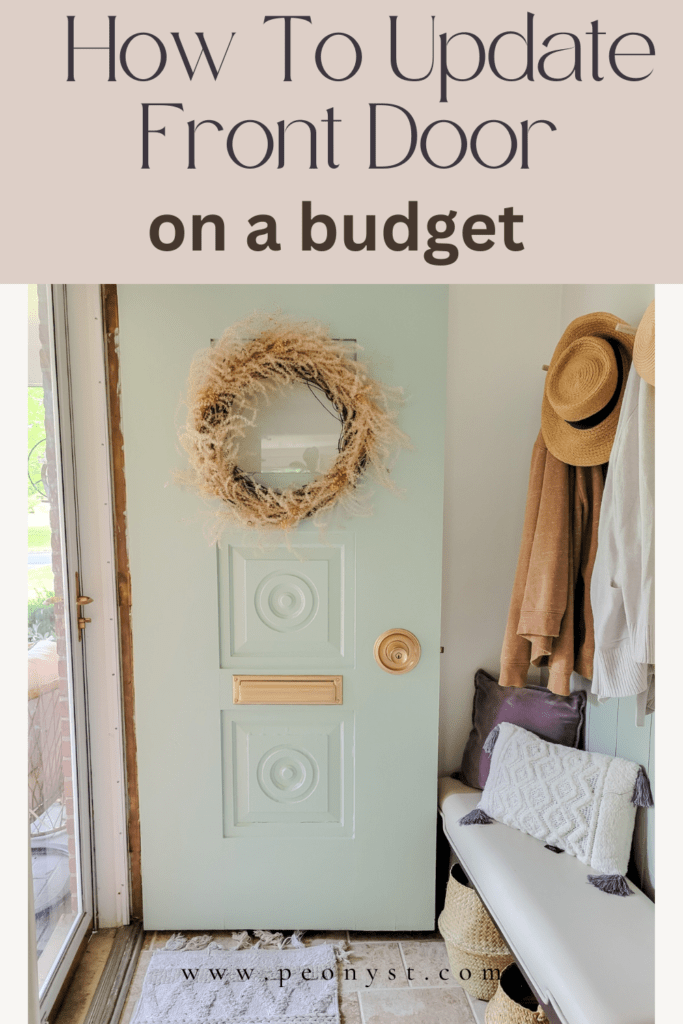
Do you want to update your front door on a budget? In this post, I will show you how to give your front door and fixtures a refresh without breaking the bank.
The front door is one of the first things people notice about your home. Updating it can greatly improve the overall appearance and curb appeal of your property, giving it a fresh and inviting look.
Updating your front door allows you to personalize your home’s exterior and express your personal style. You can choose from a wide range of designs, colors, materials, and finishes to complement your home’s architecture and create a unique look.
Our home was built in 1956 and our door was original to the house. It has a midcentury-modern style which I love. I’ve been wanting to update it for a while but did not have time to do it.
Back then, people used lead paint to paint their homes. Lead paints were banned for residential use in 1978. Since our home was built in the ’50s, I assumed that they used lead paint.
Last week, I finally tackled the door project and started brainstorming about what color to paint color to use. Initially, I thought about staining the door but because it might have lead paint, I decided to paint it instead.
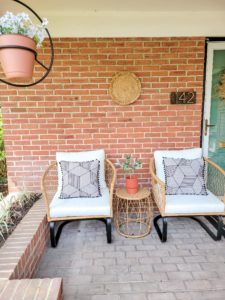
I want to pick a color that would look good with our red bricks. I painted the window trim a dark blue a few years ago and really loved how it looks against the red bricks.
I talked to hubby about doing a similar color on our front door but he wasn’t sold on the idea. I also like sage green or mint green with gray in it for a coastal vibe. He preferred the latter option and I started looking for the perfect paint color 🙂
I went to Lowes because we have a credit card and we get a 5% off discount. Honestly, I don’t like shopping for paint because there are so many colors to choose from and it’s overwhelming! I am very indecisive and to have so many options in front of me is not helping, LOL.
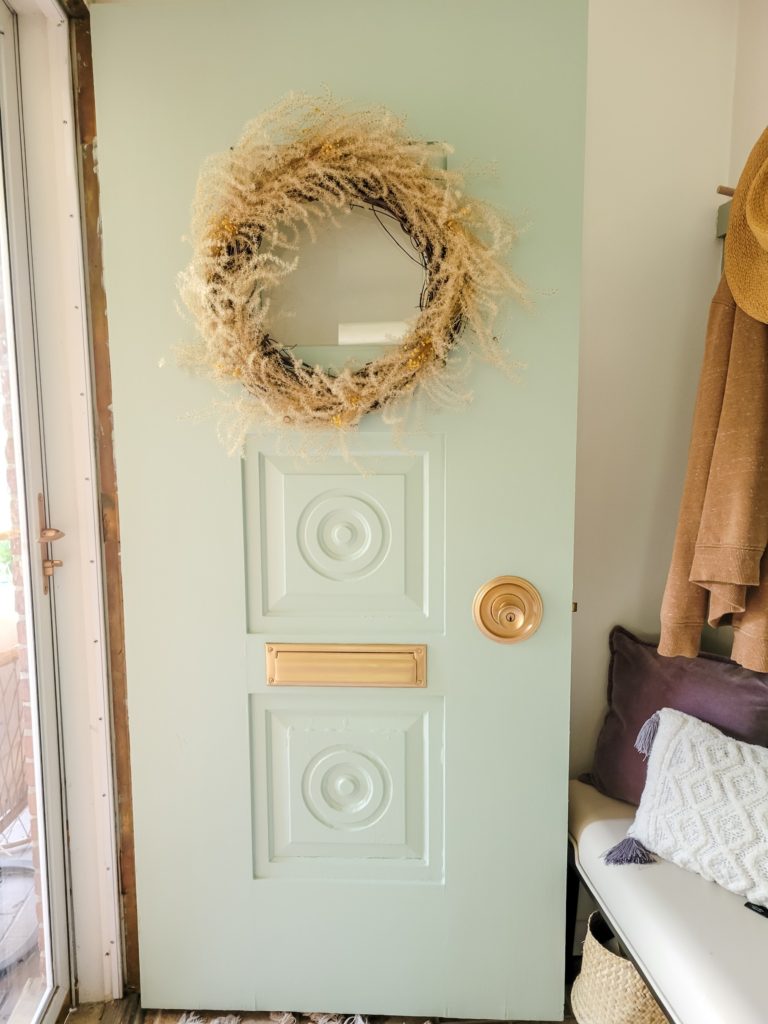
I finally narrowed it down into 3 options. Hubby and I agreed on the seaside fog paint color. Can you tell it’s coastal from the name alone? LOL.

I thought about getting a sample of paint but I don’t want to go back to the store 10 times so I just got a gallon of paint.
Painting The Door
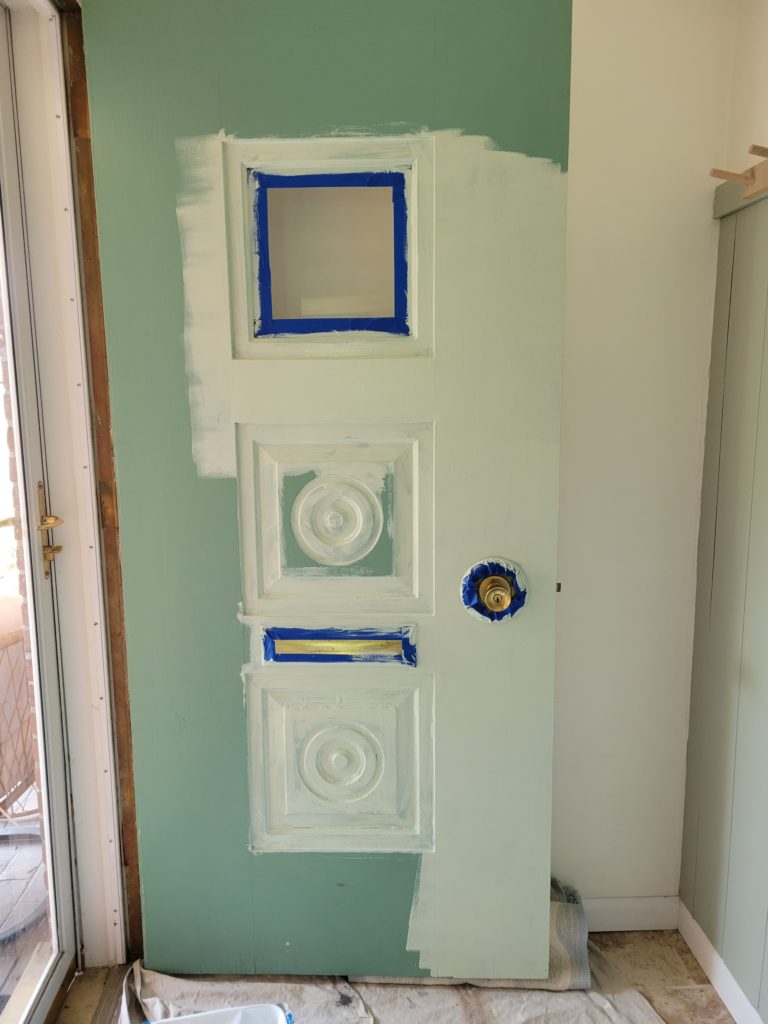
I wiped the door with a clean rag and put painter’s tape around the glass and fixtures. Then I started painting the door with a brush and a roller for a smooth finish. As I mentioned earlier, I can’t sand the paint because of possible lead paint. There is bubbling in some areas but unfortunately, I won’t be able to fix it.
Hubby offered to get a new door but new doors can cost $1000 or more. That’s a lot for me. And he also wants a mail slot and that would cost extra money to have it done.
I started painting the door. To be honest, I was a little nervous because it looked lighter than I expected. The paint got darker when it was completely dry. Thank goodness!
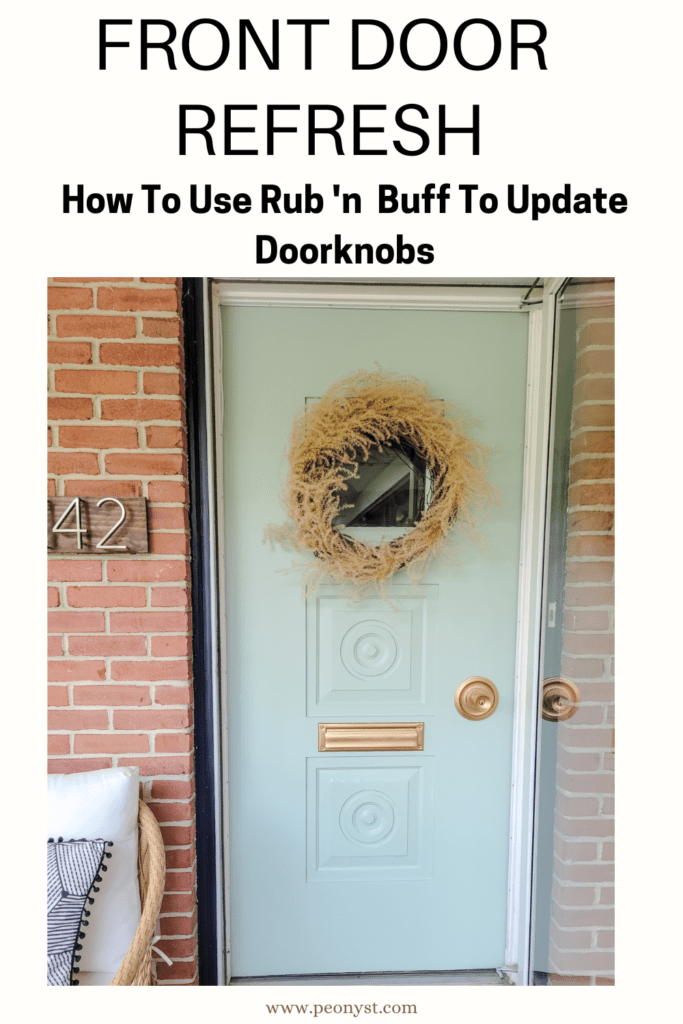
How To Update Door Fixtures Using Rub ‘n Buff
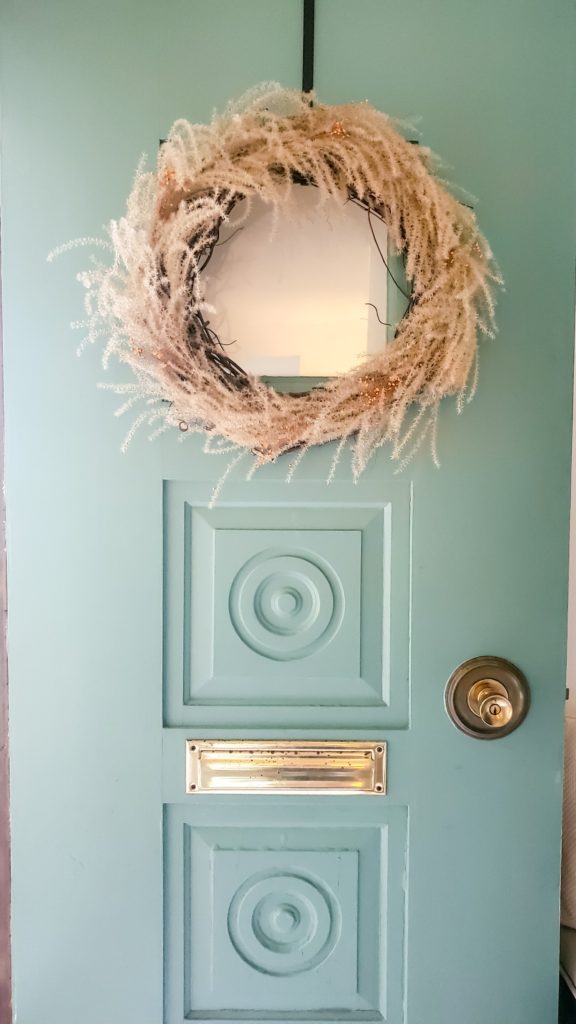
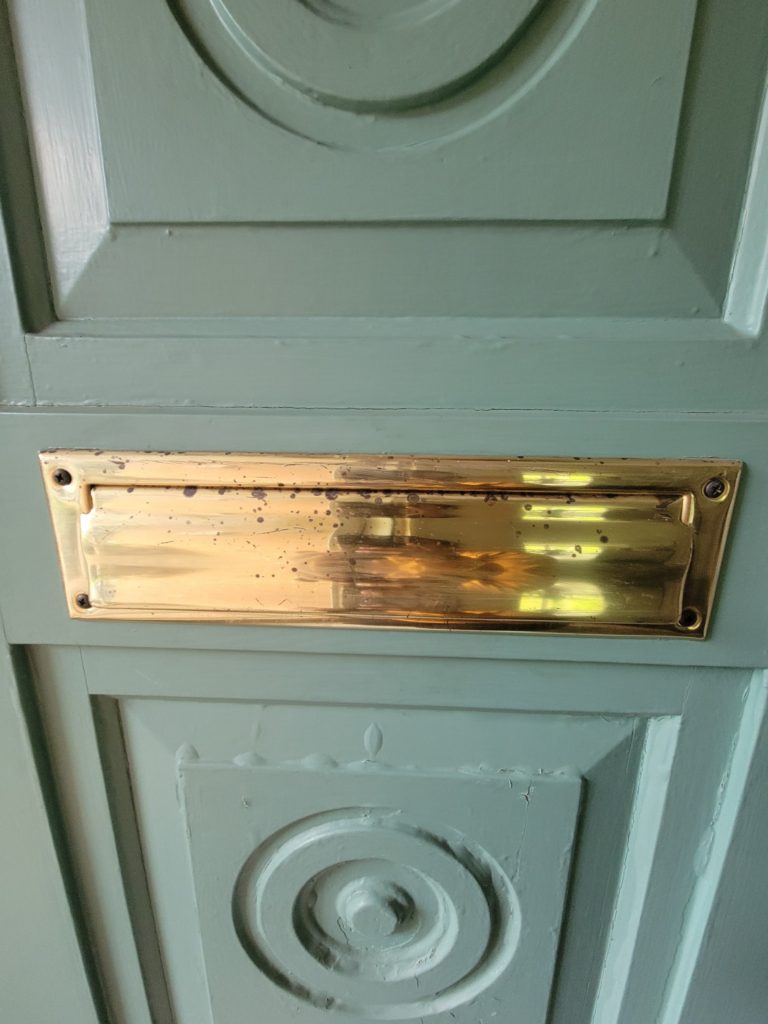
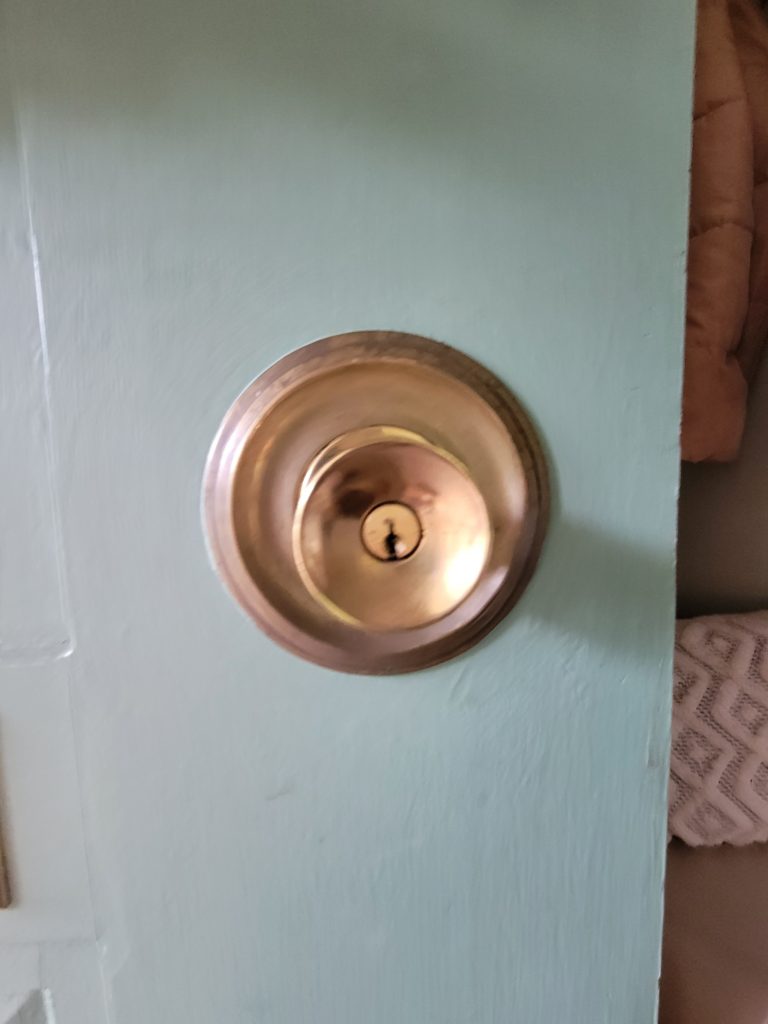
Our mail slot and door knobs are worn and needed an update. I thought about replacing it. Our door knob has a round trim and I’m not sure how it would look without it.
I replaced all the door knobs in the house and it was difficult to make sure they all line up or they won’t close properly. I did not want to have the same thing happen to our front door because I want to make sure we can close and lock it. It’s sort of important if ya know what I mean 🙂
I’ve seen bloggers on Instagram use rub and buff to update cabinet pulls, light fixtures, and picture frames. I did not want to remove the handles and spray paint it so I gave it a shot.
Supplies:
- Rub n Buff (antique gold)
- Small brush
- Clean rag
Directions:
I used a sand block to sand the mail slot and doorknobs to make sure the paint will adhere. I put a little too much paint at first and quickly learned that it gets grainy when you use too much paint.
With rub n buff paint, a little goes a long way. I also did not let the paint dry completely before doing another coat. There were areas that I couldn’t get the paint to adhere to. I did a few thin coats and let it dry in between and this method worked well.
I used a cloth or rag at first but I prefer using the brush because I have better control of the paint. I was getting paint on the door but fortunately, I can cover it up with paint. It was a learning curve at first, but I quickly got the hang of it.
I highly recommend using painter’s paint to avoid getting the paint on the door. You can use mineral spirits or acetone to remove the paint.
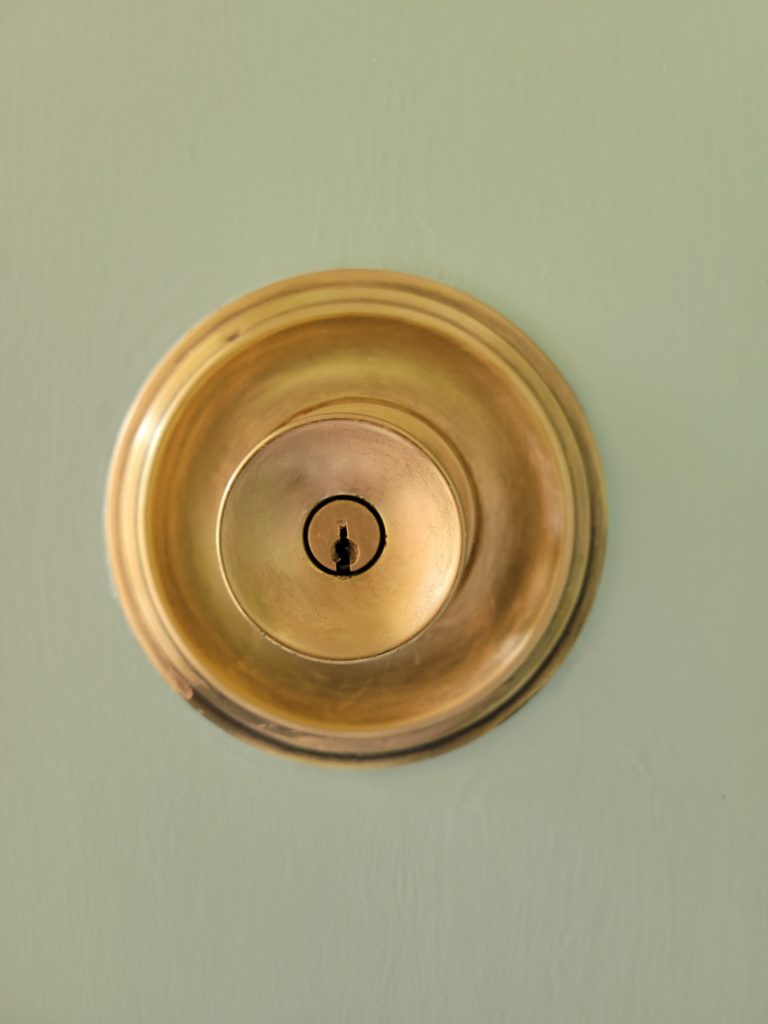
When the paint is completely dry, I used a clean rag to buff it. I prefer the matte look so I did not want to make it super shiny. Depending on your preference, you can buff it as little or as much as you’d like.
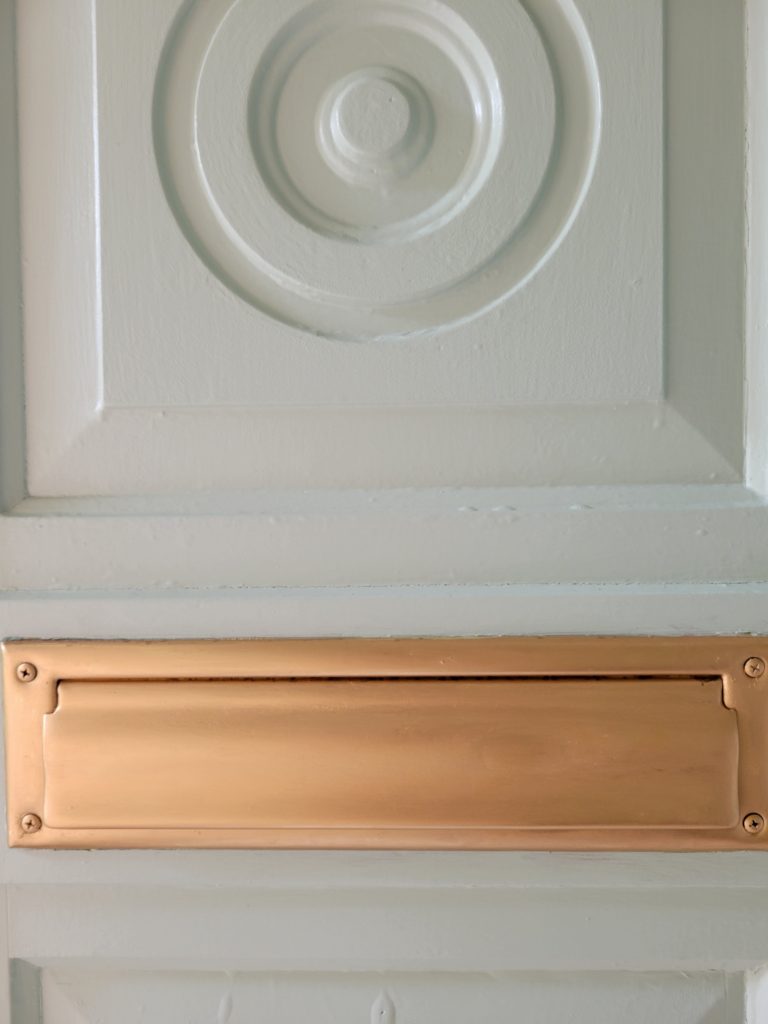
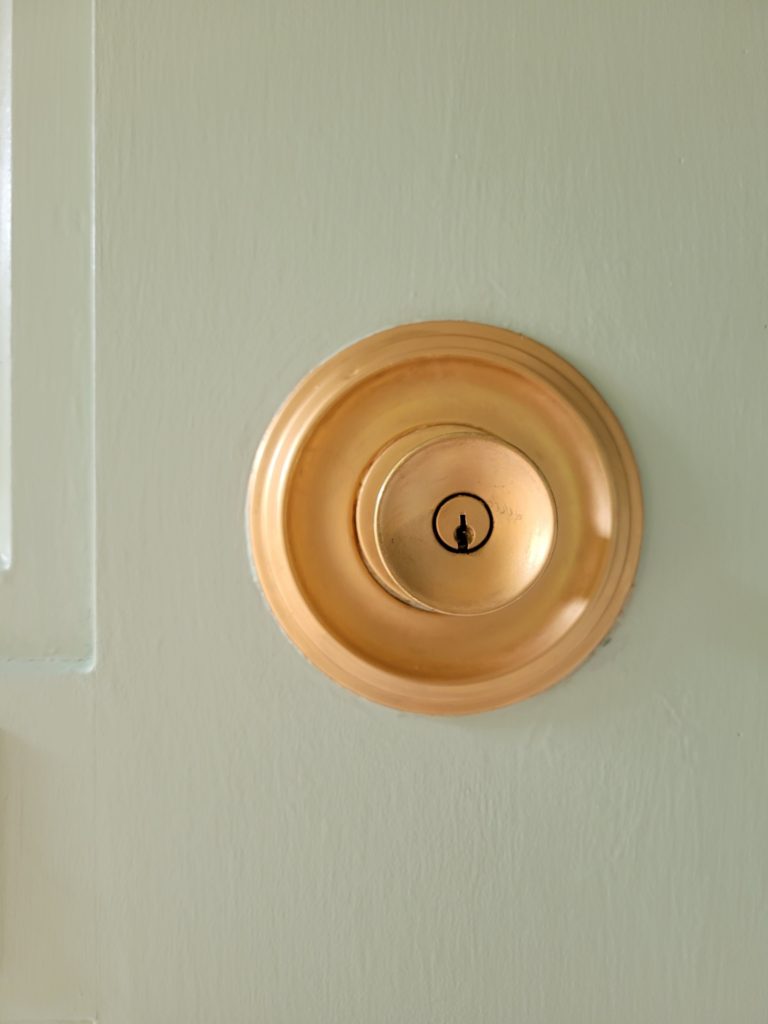
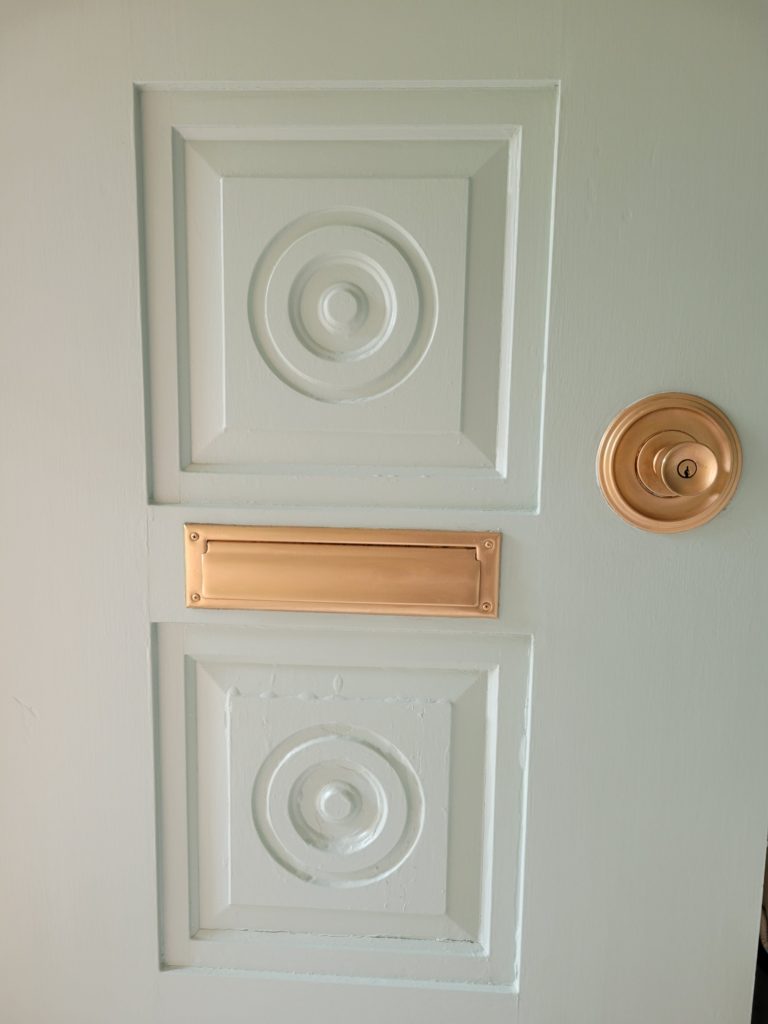
I am so pleased with how the mail slot and door knob turned out. They looked like new. The antique gold has a rose gold/copper look and I love how it looks against the new paint color.
Check out my Youtube video tutorial here:
The best part is, it only costs less than $5 to update the doorknobs and the mail slot. I also did the storm door knobs and kitchen doorknob and I still have a little paint left over. Pretty awesome, right?
I hope you enjoyed this post about how to update your front door and fixtures on a budget. Would you try Rub ‘n Buff paint on your doorknobs? I’d love to hear your thoughts.
Jennabel
Other Posts You May Like:
Front Porch Refresh
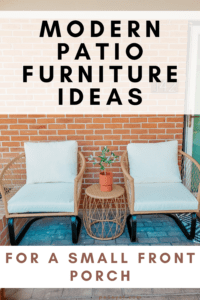
Modern Front Porch Furniture Set Ideas
Pin for later:
thank you for the article
You’re welcome. Thank you for stopping by 🙂