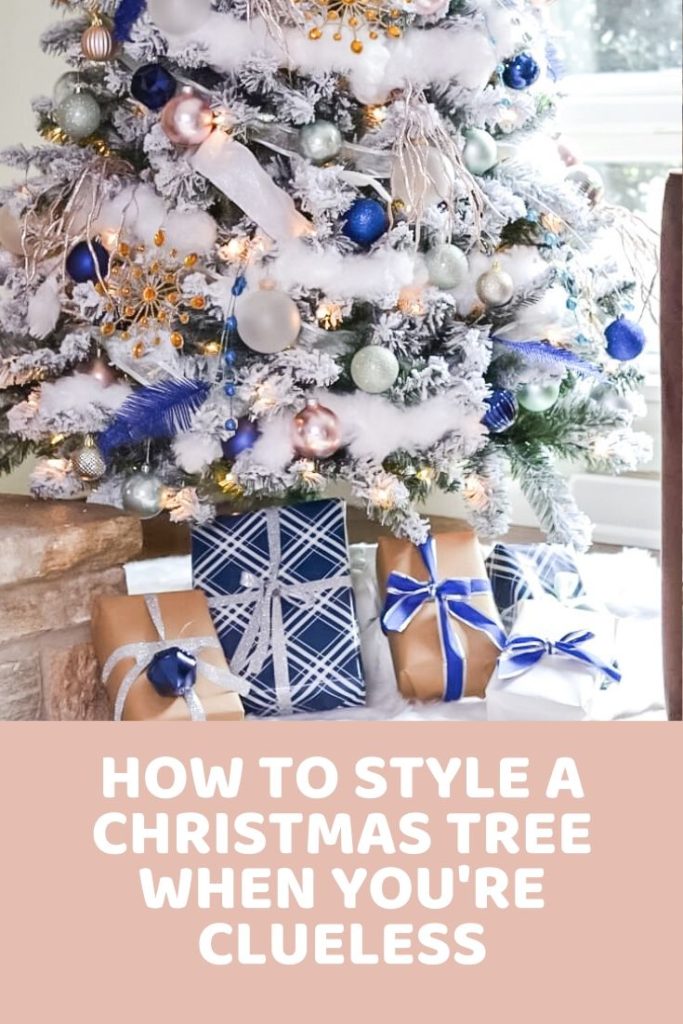
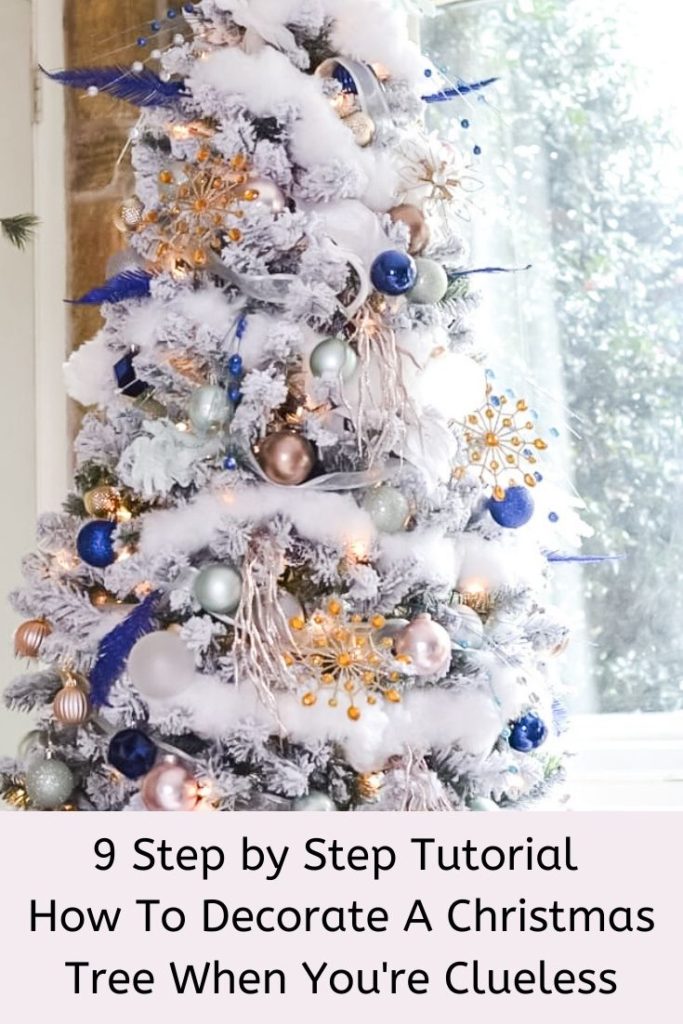
This post is all about how to decorate your tree if you’re a beginner. I’ll share the tips I’ve learned over the years to create a beautiful Christmas tree.
December is almost here. I know many of you are going to decorate your tree soon, but before you do please read this guide. Some people have a knack for decorating trees and others aren’t quite sure. I want your tree to express your style and personality with beauty.

I started early. I was in charge of decorating the tree every year since I was 9. 🙂
I’m no expert, but in the years since I was a kid, I’ve put in a lot of time. I’ve watched Youtube and studied the best of Instagram and Pinterest. I learned from lots and lots of practice.
Full disclosure: this post contains affiliate links.
Pick a tree
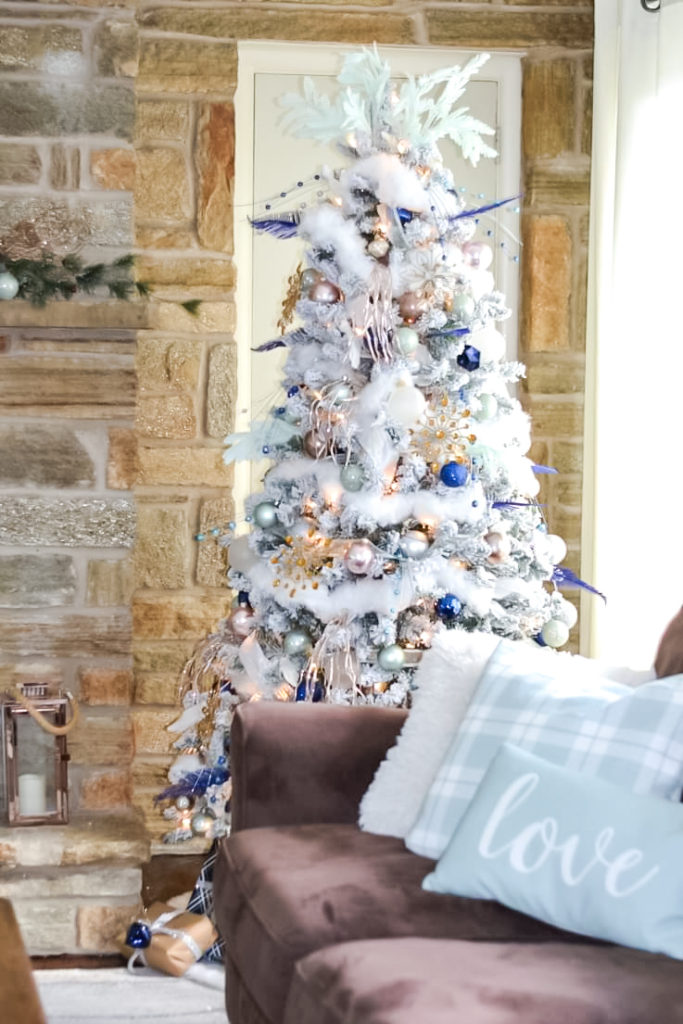
If you like the winter wonderland feel, I recommend a flocked tree. I had a regular artificial tree for years and just last year decided to go flocked. I bought it from Walmart for $79. There’s a small downside to flocked: they shed a lot and can be very messy!
But the upside is ornaments pop in contrast to its white canvas. I doubt I’ll go back to regular trees.
Buy it: Holiday Time Pre-Lit Flocked Frisco Pine Christmas Tree, 6.5′ Clear
If you like a cabin or woodland theme you might like a pine artificial tree. Pick a tree that reflects the style you’re going for.
Buy it: Holiday Time Unlit 7.5′ Donner Fir Artificial Christmas Tree
Primp the branches
This is one of the most important tips. You have to spend the time to primp the branches. The tree should look full. You want to fill in gaps by separating and fluffing the branches. This is time-consuming but worthwhile.
Choose a theme
The most important tip I have is: have a theme in mind.
I’ve seen people decorate their trees with whatever they have. The key to a beautiful and professional-looking tree is choosing something that ties it all together.
Do you like winter wonderland, farmhouse, boho, cabin or beach theme? You can also make color your theme: red, gold, or pastels. Need some inspiration?
My favorite place to go for inspiration is Hobby Lobby.
Add lights
This is not always necessary. Some trees come with built-in lights.
Weave the lights from top to bottom. Make sure to wrap the lights evenly around the tree. Choose a light strand that matches the color of your tree. In my book white lights are classier than multi-colored lights. The choice is yours.
Buy it:

I prefer pre-lit trees because it saves a lot of work.
There are drawbacks. I once tried to replace one of the light bulbs and an entire section went out. I had to remove and replace old lights and getting it all working took hours. It was frustrating to say the least.
Add ribbons and/or garlands
I’ve had great luck with wired ribbons.
Start at the top wrap and weave ribbon around the tree. I find it easier to cut the ribbon into strips instead of using the entire pool of ribbon.
You’ll be tucking the ribbon into the tree and letting it billow out again so the fact that it’s cut into strips won’t be noticeable. The ends will disappear into the tree.
Tuck the ribbon in different directions – horizontally, vertically and sideways – taking care to make it look natural. You may use two different kinds of ribbons if you prefer. I’d suggest a combination of patterned and solid.
Do you want to make your own garland? Check out my Dollar Tree DIY garland tutorial.
I love these farmhouse striped ribbons.
Buy it:

Buy it:

Add ornaments
Choose ornaments that suit your theme. I like to mix different shapes and sizes. Wood sign ornaments are popular right now.
Buy it:

Hang the smaller ornaments at the top and bigger ones on the bottom. Place them evenly around the tree. To add depth and interest, hang some ornaments closer to the trunk. Put your favorite ornaments in the most visible spots. I add clip-on ornaments for variety.
Buy it:

Buy it:

Add picks and fillers
Does your tree have gaps? Use fillers to hide them.
I like pine fillers with berries or pine cones. Picks is one of my favorite tree decor. There are so many option to choose from these days. Again, mind your theme when choosing your picks.
Buy it:

Buy it:

Add the topper
Now crown your tree with your favorite topper.
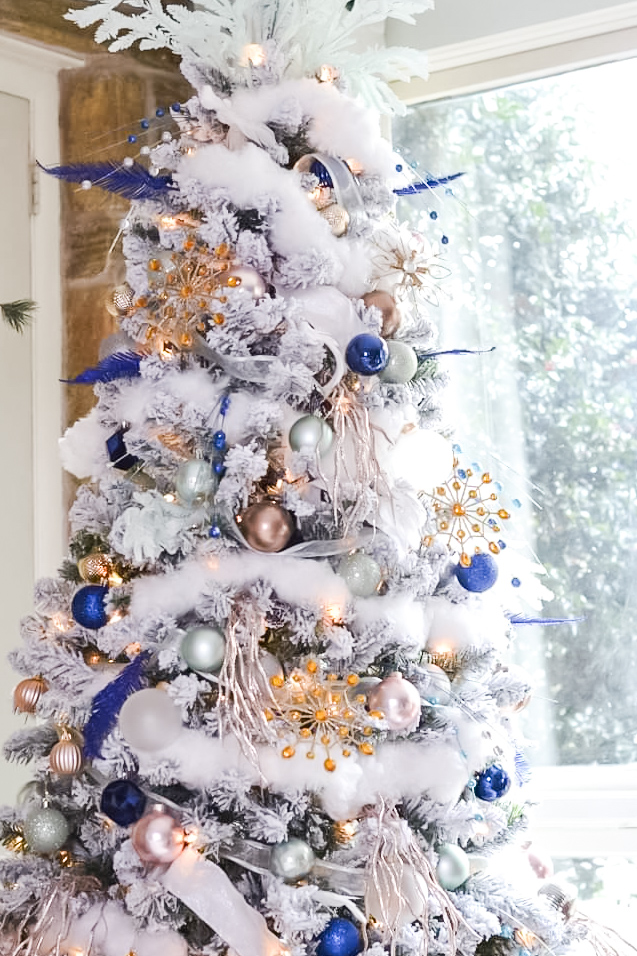
I used a star for years. This year I wanted to simplify and so I used frosted white picks as a topper. The topper should be in proportion to the tree. Small tree, small topper. Large tree, large topper.
Buy it:

Complete with tree skirt or collar
Think about a dressed tree like a dressed person. No outfit is complete without the perfect pair of shoes. You wouldn’t leave the house without shoes, would you?
Buy it:

If you like the farmhouse style, you might like to use collar instead of skirt. These collars are popular right now.
Buy it:

Buy it:

That’s it. Stand back and admire your handiwork.
I hope this helps you create a Christmas tree that reflects your style and personality.
Jennabel
Pin for later:


Love the winter wonderland white tree!! I’ve experimented with ribbon but can’t ever get it right.
Thank you! Ribbons can be tricky. I find it easier to cut it in long pieces than using the entire pool of ribbon 🙂
Personally I think you can’t go wrong as long as you have fun with the whole project (well, at least the putting it up part; taking it down isn’t so much fun). Cheers!
Lol. Same here. Taking the tree down isn’t fun but I love how it makes my living room spacious again 🙂
I am sure there is always a generation who is doing it for the first time so your post is super helpful to many. I am all . for frugal ways to do the decoration and I have found out that some of your suggestions can save money.
Hi, Nadia. I love to save money too. I like to shop for Christmas decor aftwe Christmas to save money. Thank you for stopping by 🙂
Great tips!! I love to add ribbon to my tree!
Thank you so much, Sarina. Merry Christmas!