This post is all about how to paint tile grout. Do you have dirty and dingy yellow tile grout? Do you want to make your tile grout look new again but don’t want to remove your grout? In this post, I will show you how to paint your tile grout using Mapei Grout Refresh.
Our main bathroom is 10 years old and the grout lines that used to look white now look yellow. I wrote a blog post about how I clean dirty tile grout a few weeks ago. I must say that the product does whiten the grout lines but it’s not as white as when the tile was installed. I used the same product in our new bathroom and it works great.
Our main bathroom tile has very small grout lines. I believe it’s 1/8-inch grout lines. It’s very tricky to clean because the grout lines are uneven and narrow. I have tried so many cleaning products but it still doesn’t look white as I had hoped.
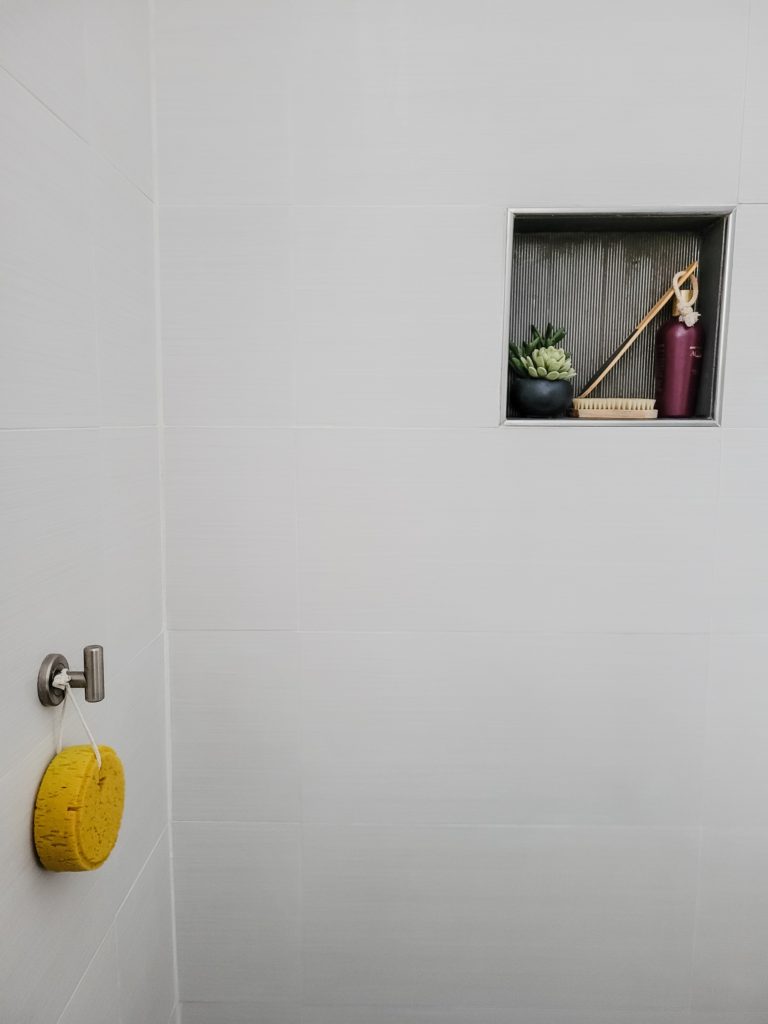
We used small tiles on our shower floor. And it was a HUGE mistake! I’ll never use small tiles in the bathroom shower again. Why? The grout lines are such a pain to clean. Also, we have hard water and it’s very noticeable against the dark gray grout.
I decided to remove the grout in our shower tile. It was backbreaking! I worked on removing the top part of the grout and it took all day. My body was sore the next day. It was one of the most laborious jobs I’ve done in my life. LOL.
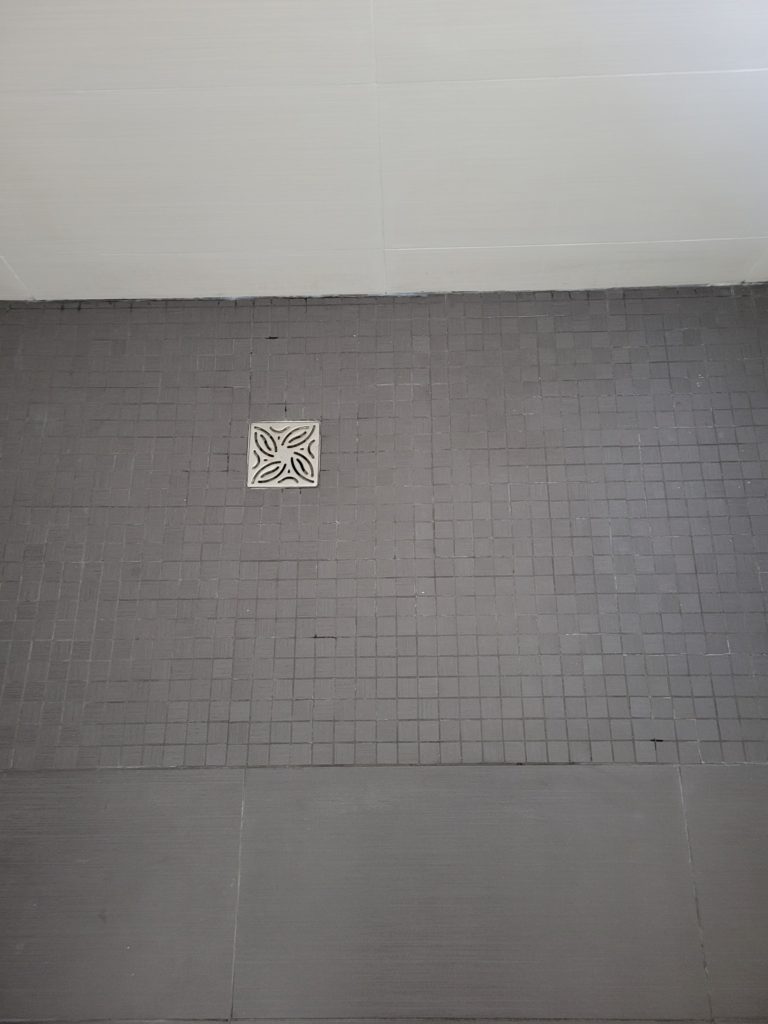
I watched Youtube videos on how to grout tiles. It looked easy and I figured I can do it. Boy, was I wrong! I mixed the grout powder with water and spread it on the tiles using a grout float. Then I wiped it off with a damp sponge before the grout dries. My arm felt so sore and tired. It was so much work!
After all the hard work I did to regrout our tile floor, I was disappointed that the grout did not look that much different. Sigh. I can still see the white stains from the hard water. Lesson learned.
I don’t mind doing the hard work but it has to be worth my time and energy. I’m all about little effort and huge results, don’t we all? Haha. The grout lines look a little bit better than they did but I was underwhelmed. The upside is I was able to fix the cracked grout and sealed it again.
I was planning to remove the grout on the shower tile walls too. But after seeing the result on the shower floor tile, I decided to try a different method. I bought a Mapei grout refresh about a year ago but it just sat in my cabinet and never get around to it.
I finally decided to use it to paint the grout instead of regrouting. What to know how to paint tile grout? Read on and I’ll show you how.
Your grout has to be in a good shape. If it’s cracked, you need to fix it first before painting. Our grout is mostly in good shape although there are areas that need to be grouted again.
This page includes affiliate links – full disclosure.
How To Paint Tile Grout using Mapei Tile Refresh
Supplies:
- Mapei Tile Refresh (white)
- Sponge or toothbrush
- Clean rags or sponge
Directions:
Clean the tile grout. Wipe the grout with a clean rag and let it dry.
Shake well before using the product.
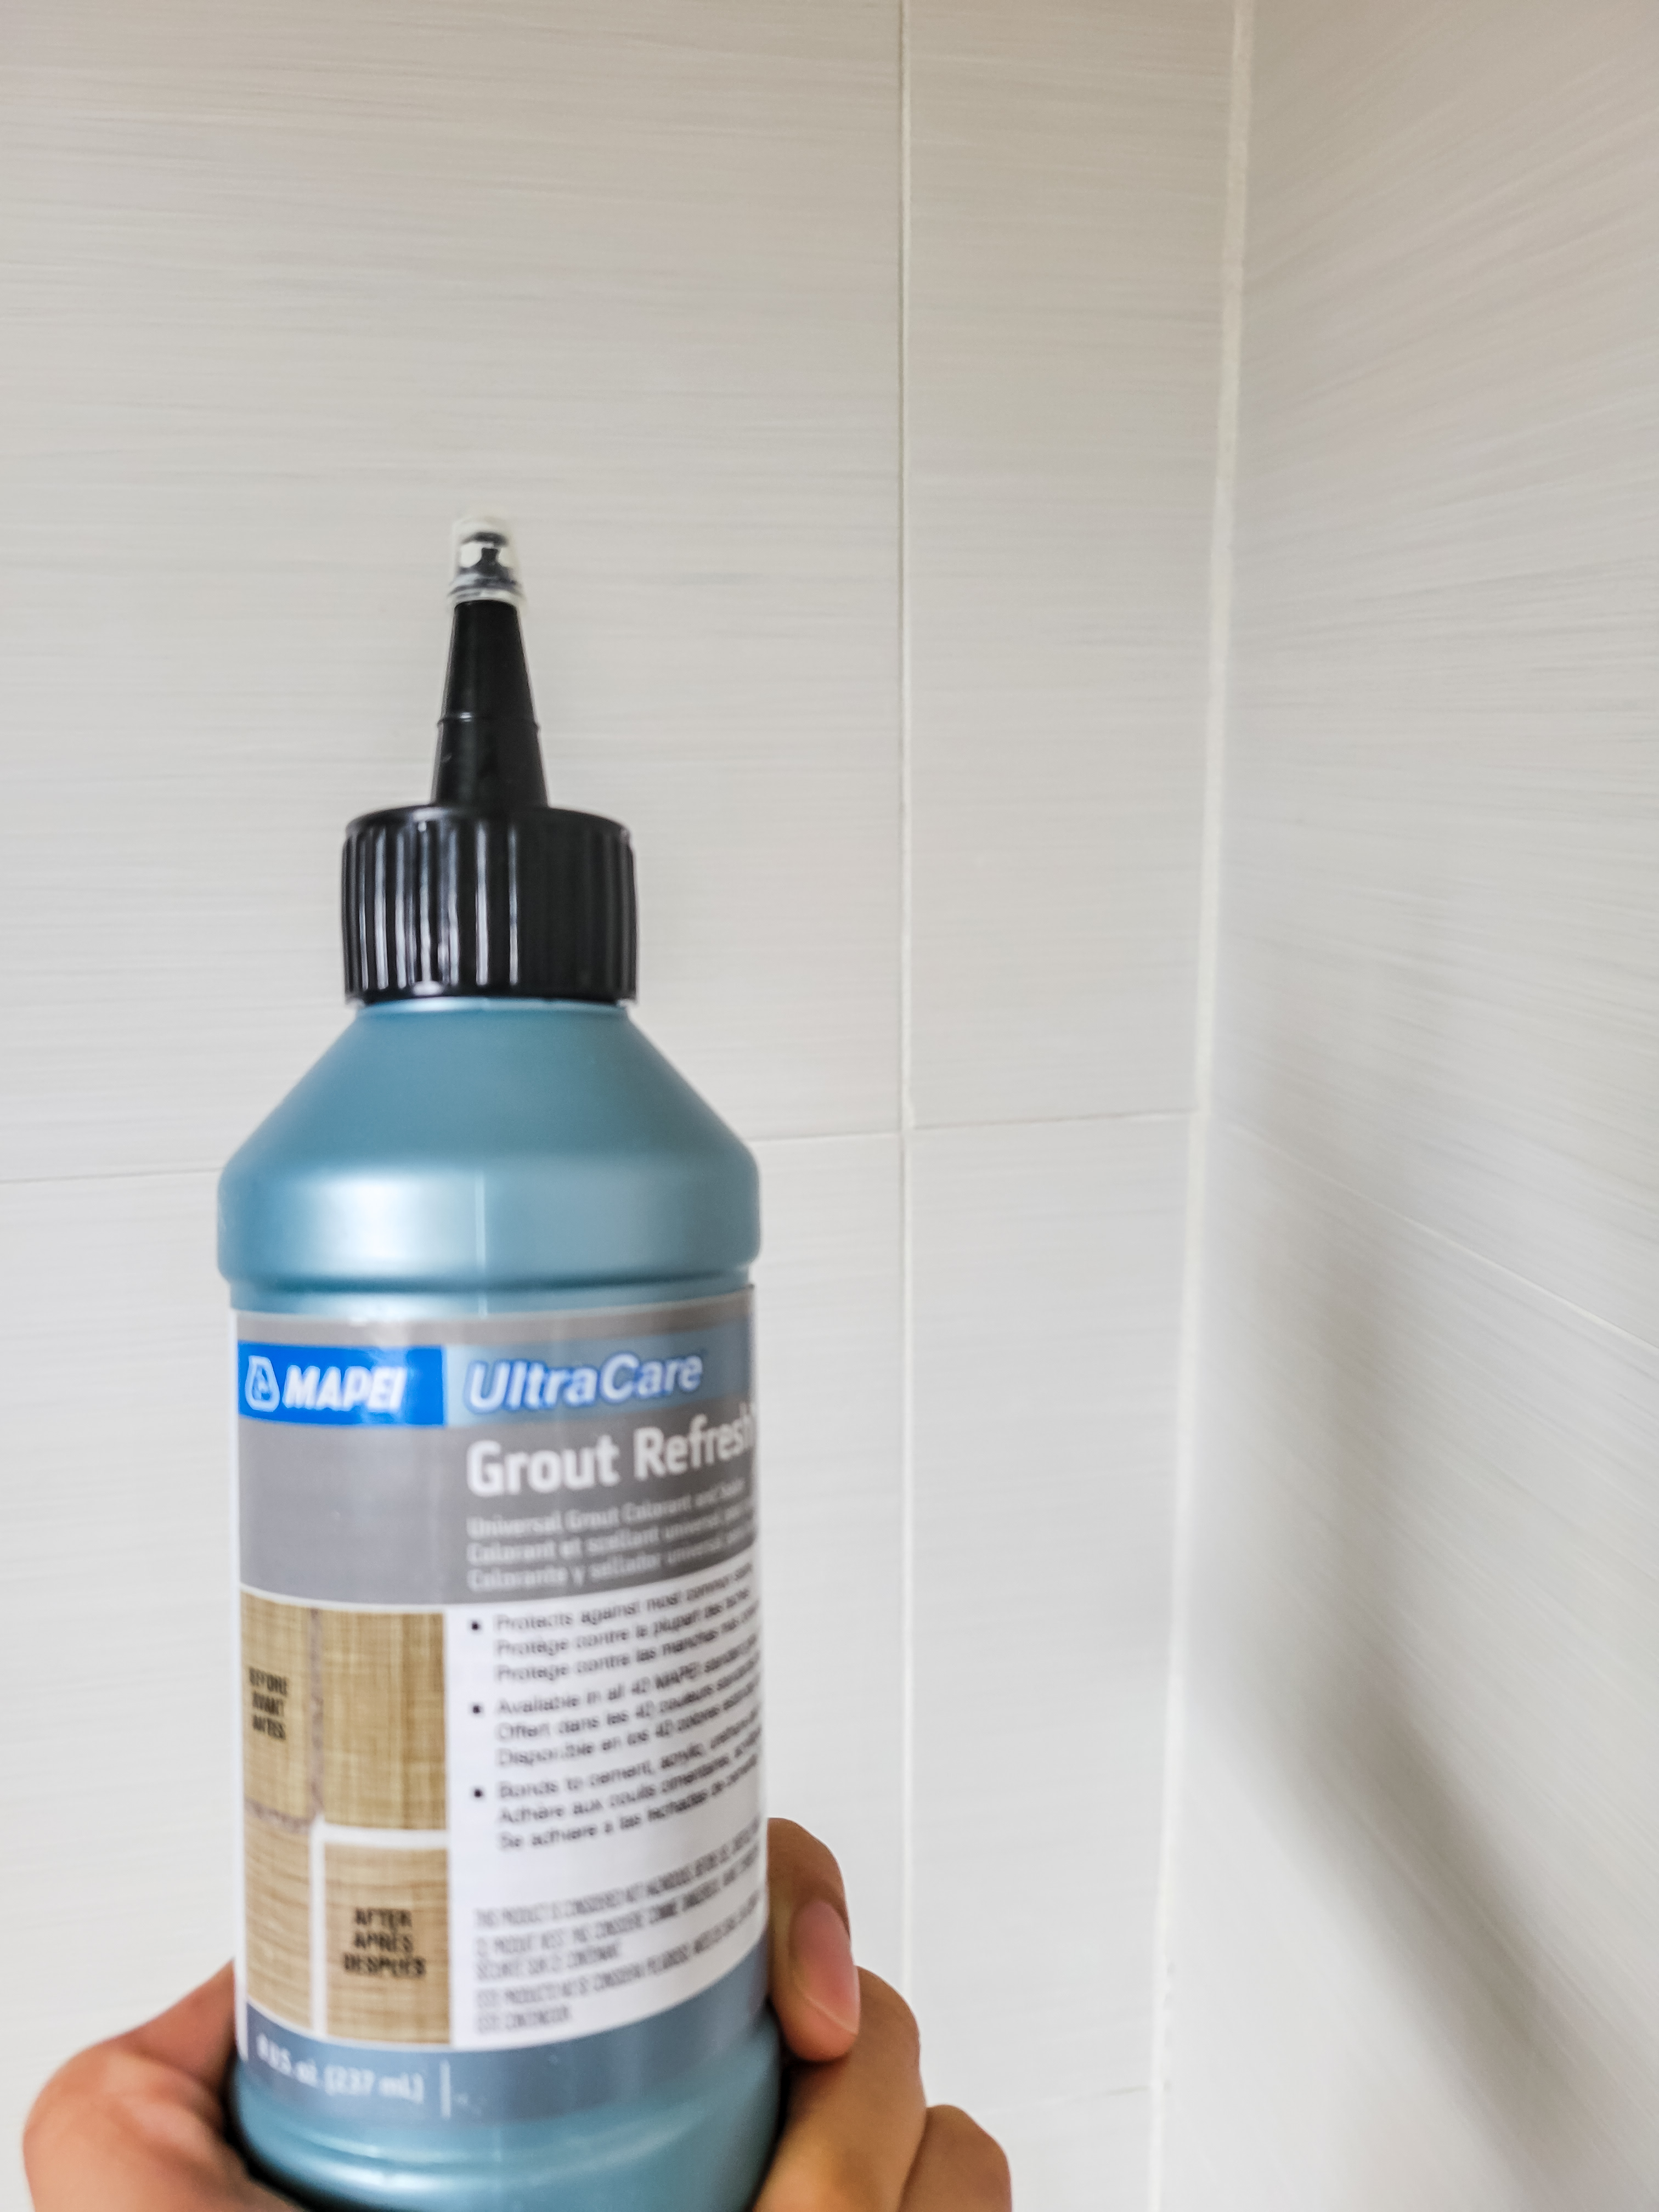
There are two methods to apply the product. The “wet method” is for textured tile surfaces with recessed grout joints. The “dry method” is for smooth or polished surfaces with flush grout joints.
I used both methods and preferred the wet method. I did the dry method first and used a grout tool and wiped it off with a paper towel. I thought this method was very tedious and took too long to apply.
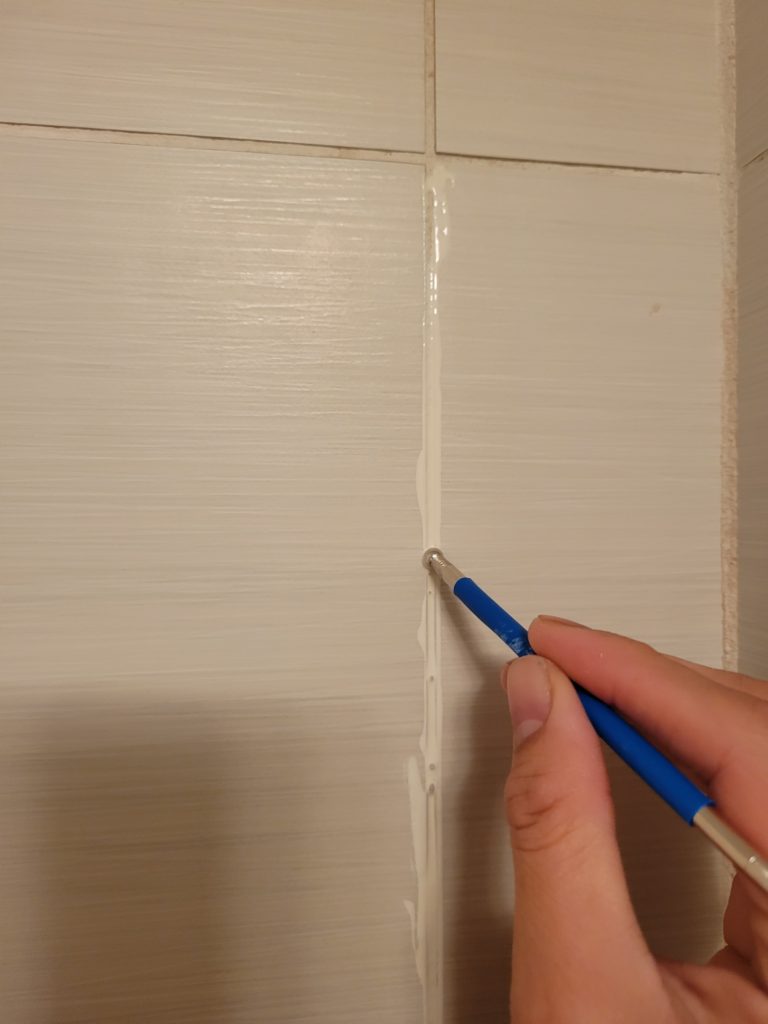
For the “wet method,” I squeezed a little bit of Mapei grout paint on the grout and wipe the excess with a slightly damp sponge. I was able to spread the paint much faster and easier using a sponge than with a toothbrush.
After 5 minutes, I wiped the area with a clean damp sponge in the same direction as the grout lines. You can also use a clean rag. Don’t wait too long or the paint will get hard and you’ll have to scrape the paint off the tiles.
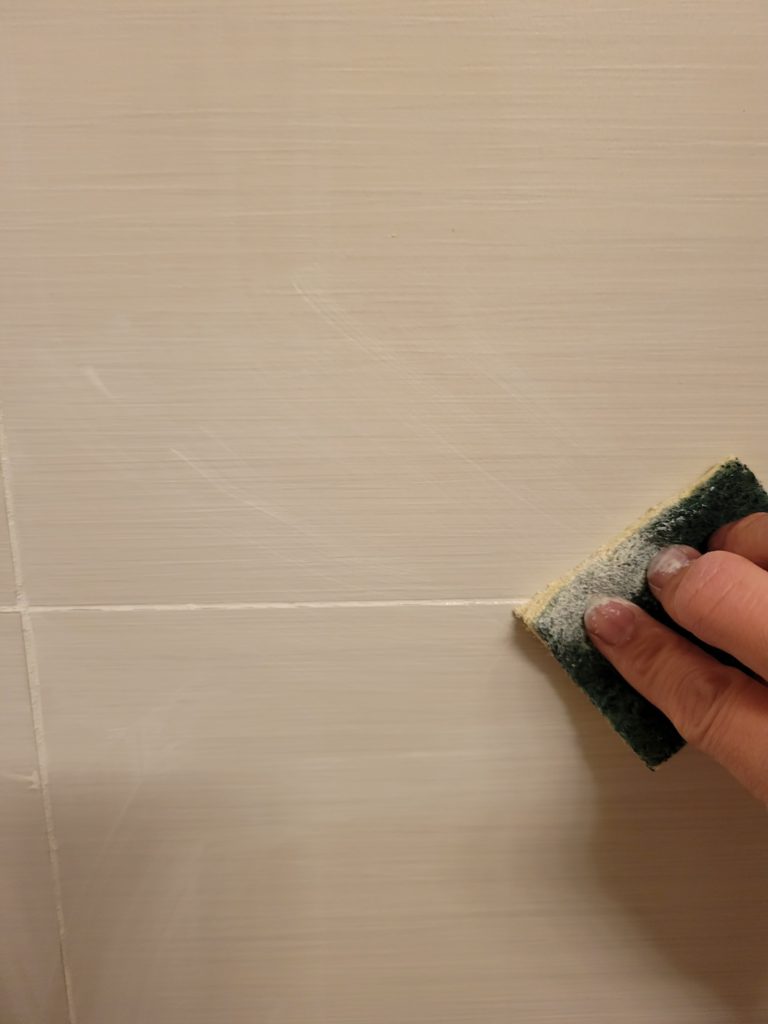
Let it dry for at least 24 hours before exposing it to water.
The Mapei grout refresh is also a sealer so I did not need to seal it. It works for sanded and non-sanded grout.
I made a reel on Instagram on how I did it. You can check it out here.
Was I happy with the result after painting the grout?
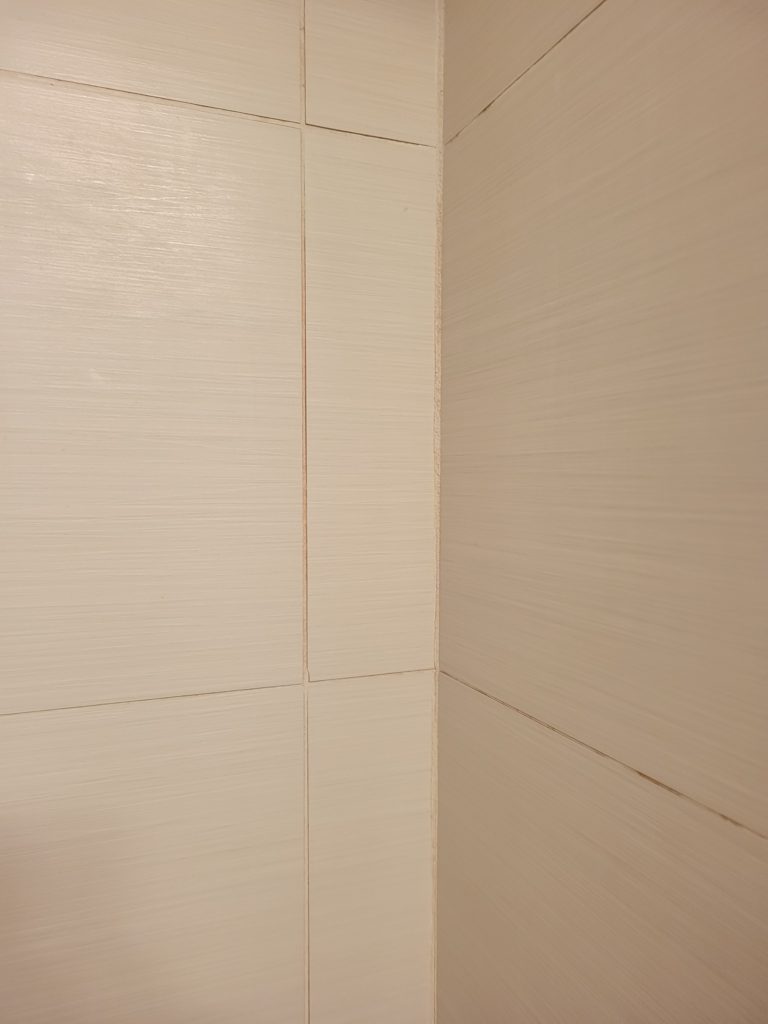
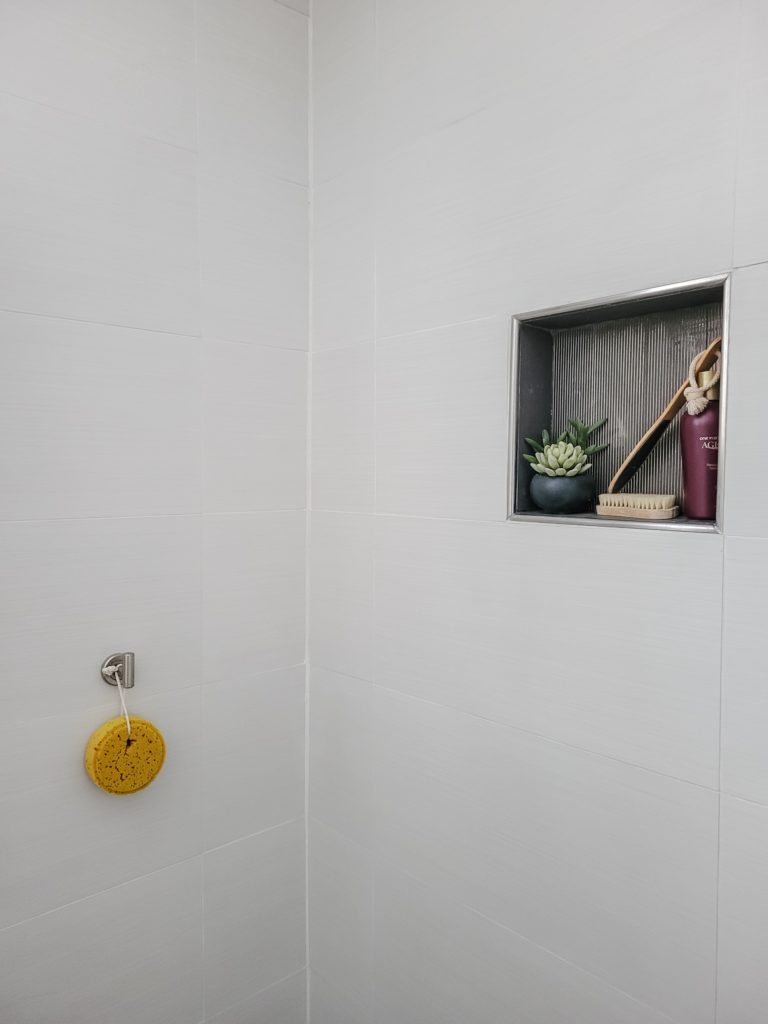
Absolutely! I was so happy to see that the grout lines are white again. Seriously, it looked like we just installed new tiles. And it wasn’t as laborious as replacing the grout!
Before
After
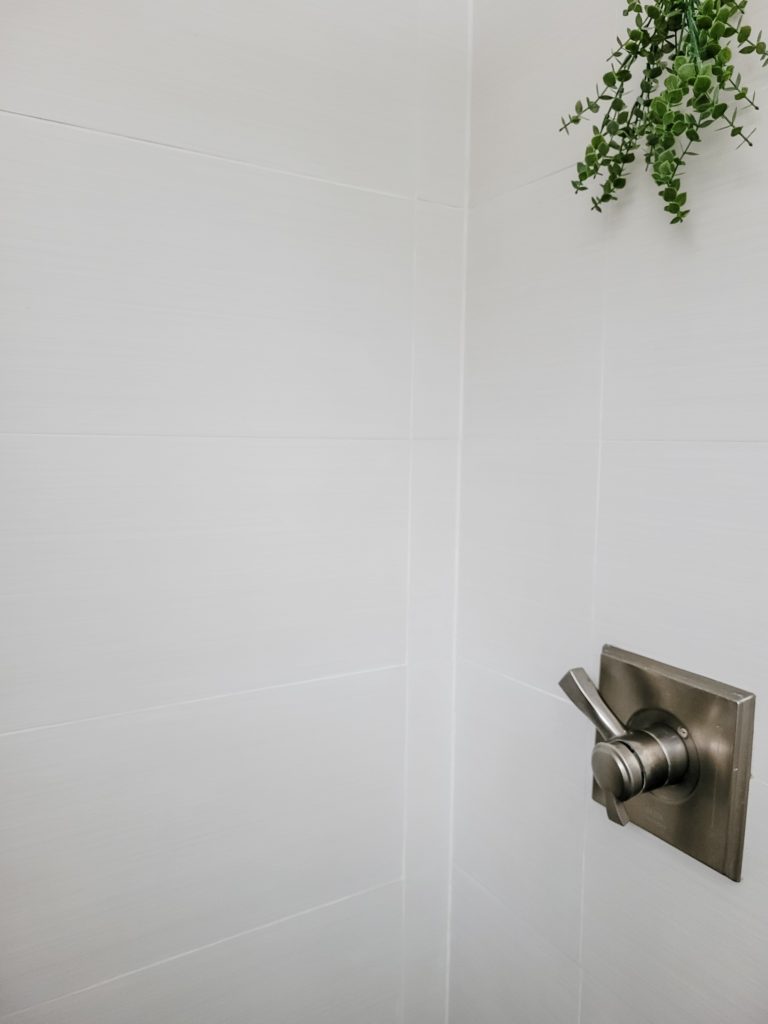
I’m not sure how long it will last but I wouldn’t mind doing touch-ups here and there. I thought cleaning grout is just as difficult as painting grout. The only difference is you have to wait 24 hours before you can use the shower.
Does painting grout really work?
Yes. You might have to do two coats on some areas but I highly recommend this product.
Can I change the grout color?
Yes. However, if you have darker grout, you’d have to do a couple of coats to achieve the desired grout color and vice versa. I used a grout paint color that is very similar to the current grout.
Can you paint a cracked grout?
I don’t recommend painting a cracked grout. The grout has to be in a good shape to achieve good results. If it’s cracked, you need to fix it first before painting. The grout in our bathroom is mostly in good shape although there are a few areas that I had to regrout.
Regrouting small areas is not very difficult but it’s time-consuming. If you want to learn how to regrout tile check out the video here.
Painting tip:
Do not put too much paint in the grout line or it won’t dry properly and will cause the paint to peel.
I am planning on writing a post update on how the paint is holding up.
I hope this post was helpful if you are planning about replacing the grout in your bathroom or kitchen floors. Painting tile grout is easy and affordable to update grout.
Jennabel
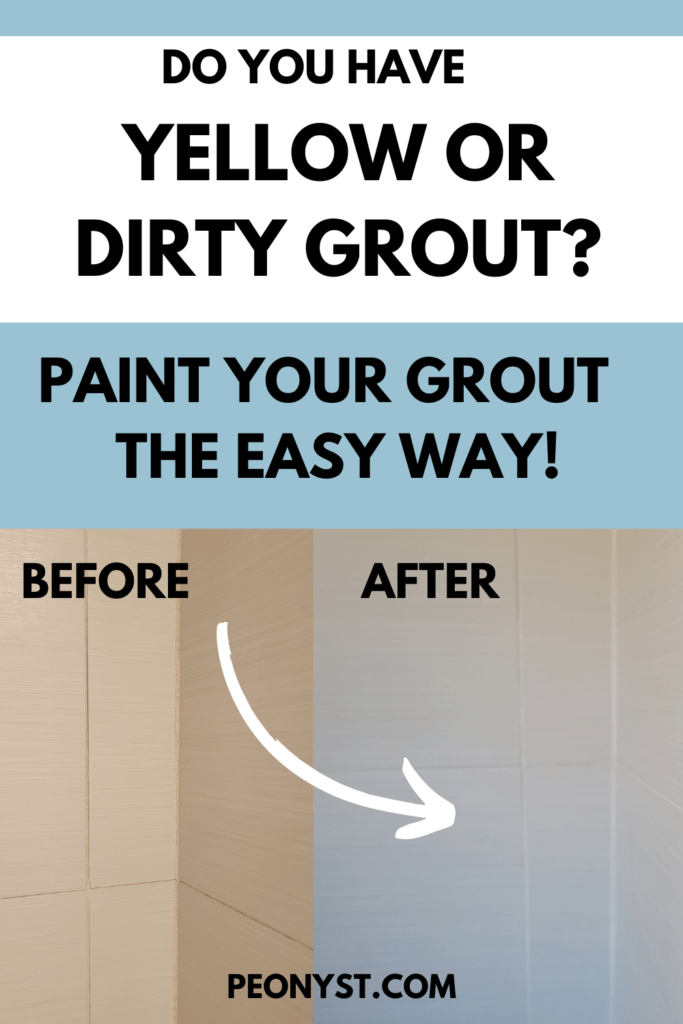
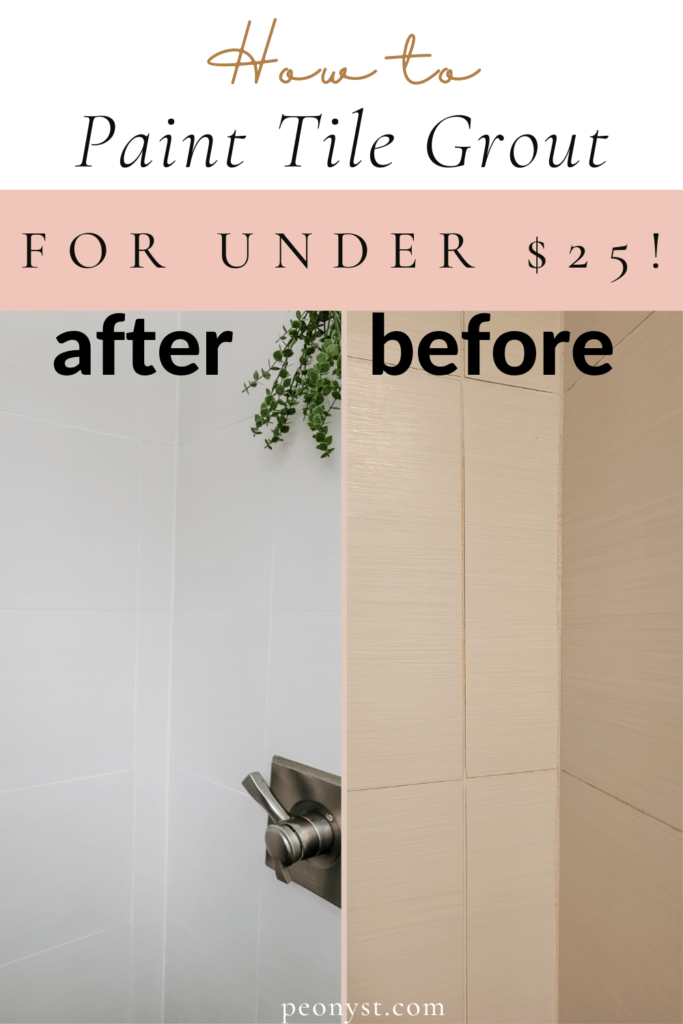
Pin for later:
Other Posts You May Like:
How To Whiten Dirty Grout (Products To Buy That Actually Works!)
How To Paint Tile Tutorial
3 thoughts on “How To Paint Bathroom Tile Grout (The Easy Way)”
Comments are closed.