Do you have ugly carpet stairs that need updating? In this post, I’ll show you how I refinished our wood stairs on a budget.
Hi, friends. I hope you are doing well in this difficult time. It’s times like this that remind me to look up and that nothing should be taken for granted.
My kids are schooling at home and my hubby working from home. My quiet time is at an all-time low but I’m loving it. I look to the left: hubby. I look to the right: kiddos. I’ve got my whole family with me, sun up to sun down.
Routine is key. Mind you, I’m not very good at it. It’s work.
Every morning after breakfast, the kids do their school work. My youngest is in Kindergarten so she does ABCMouse and Khan Academy kids on the Chromebook. She eventually figured out how to download games so I can’t leave her unattended if anything constructive is to happen. My oldest does her homework online.
My mother-in-law goes to the grocery somewhat regularly, though a bit less in light of staying safe. She helps (blesses) us with staples like milk, eggs, and bread. So far, we’re healthy and I hope to keep it that way.
Few things are more satisfying than making progress and eventually finishing what you start.
Anyway, stairs — the reason for the post.
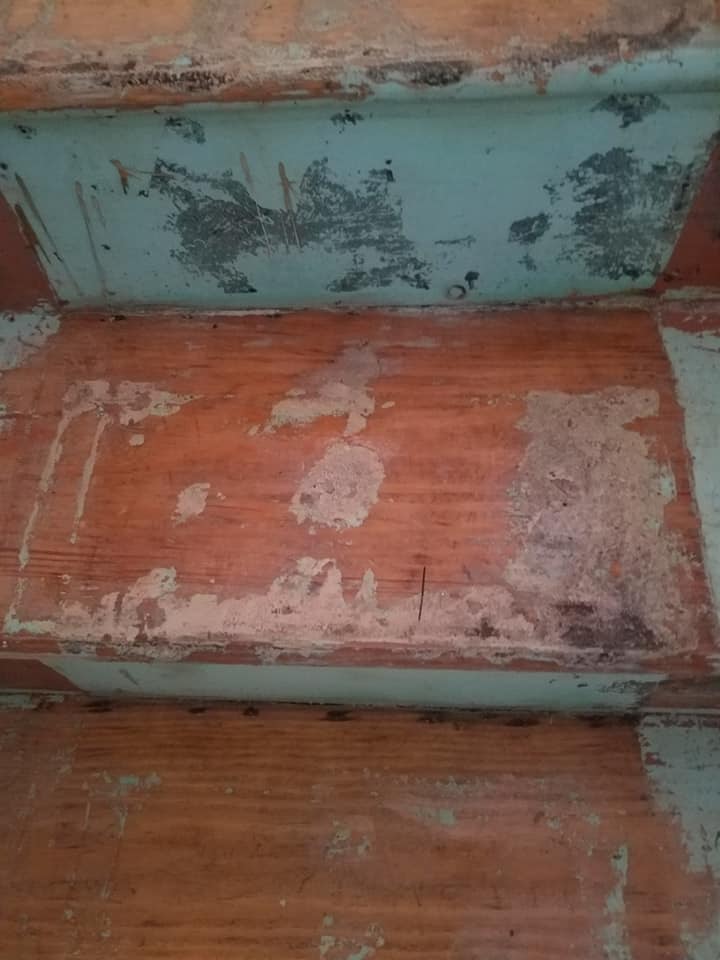
We had one last patch of carpeting left in the house: the basement stairs. Removing this carpet — what could only be described as a finalist in an ugly sweater contest — has long been on my to-do list.
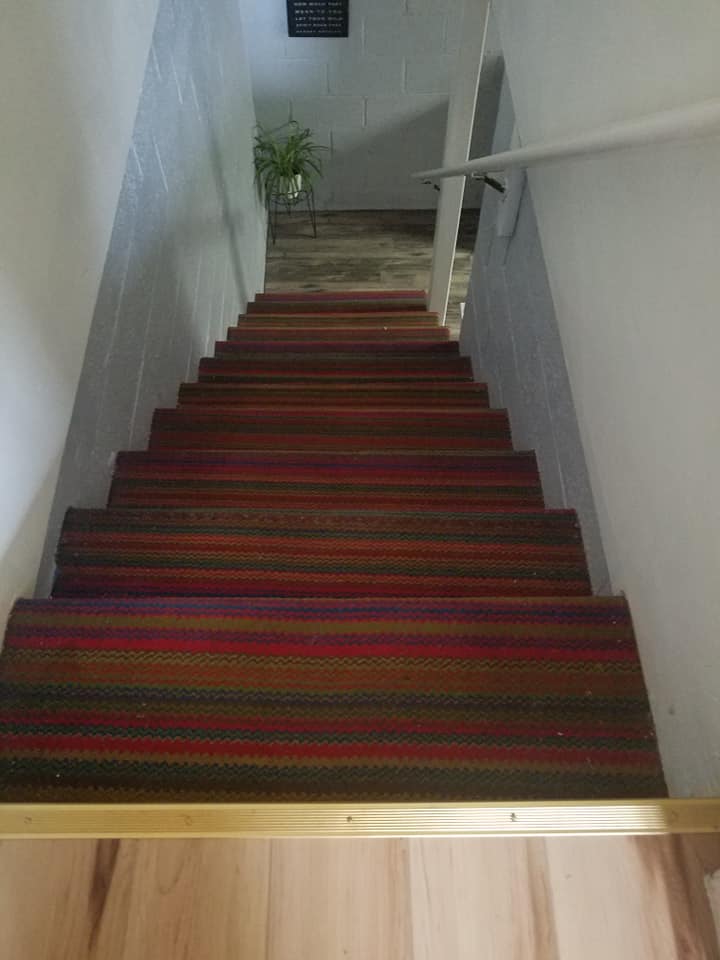
I was planning on working the project with my dad when my parents came to visit, but the pandemic caused their flight (and visit) to be cancelled. I opted to solo it.
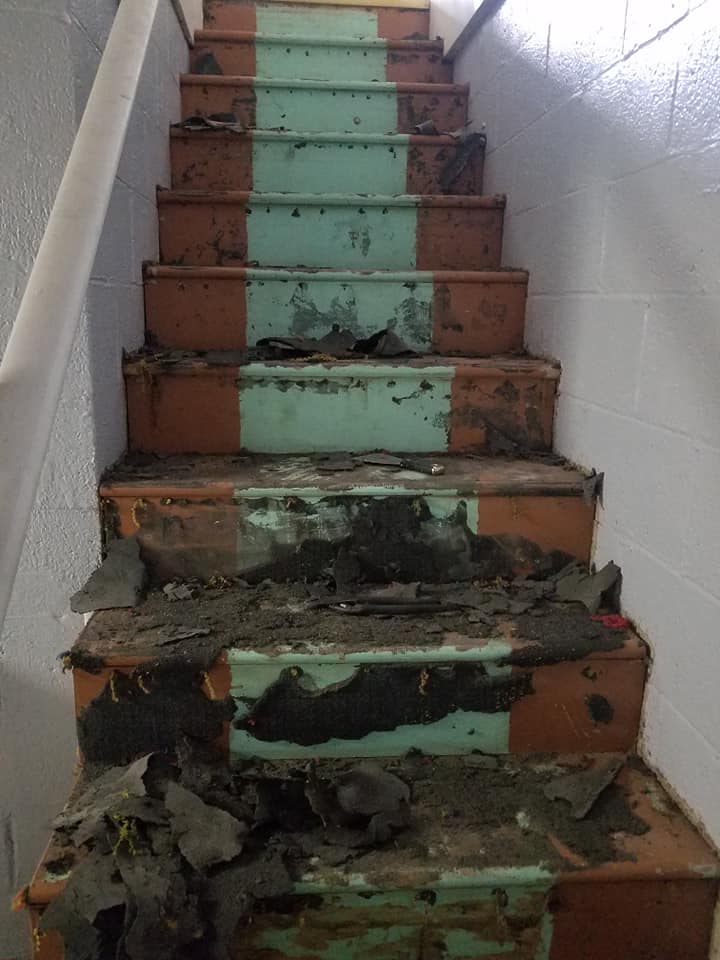
When I began removing the carpet I noticed that some of the padding was stuck to the wood — and not only that! As if the glue alone wasn’t enough, there were three — count ’em 1, 2, 3 — layers of paint. I’d bitten off more than I could chew! 🙂
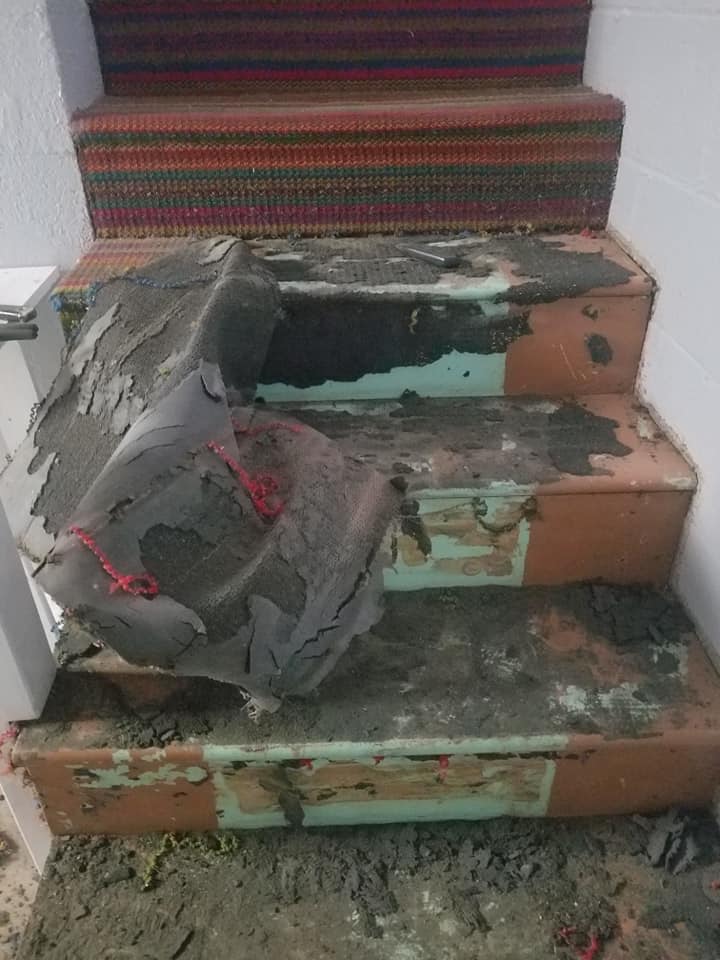
But once you start something like this, there’s no backing out. I was committed.
Here’s how I did it.
FULL DISCLOSURE: THIS POST CONTAINS AFFILIATE LINKS.
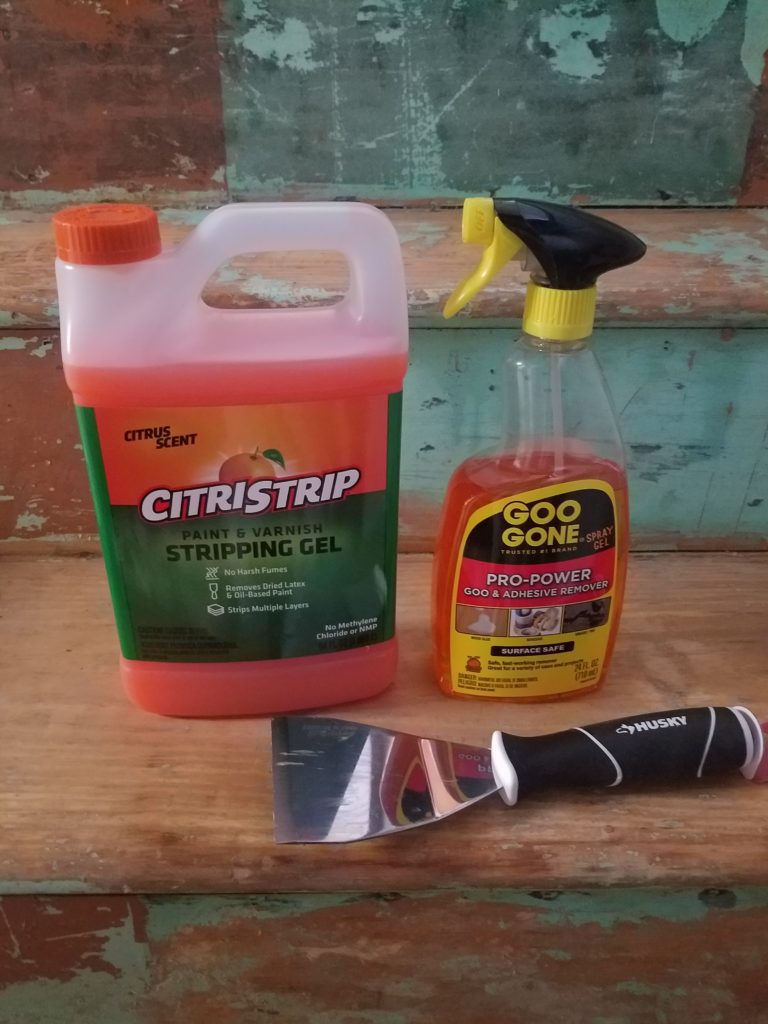
I used
- Citristrip
- Putty knife
- Sandpaper (I used 60 and 80 grit)
- Brush
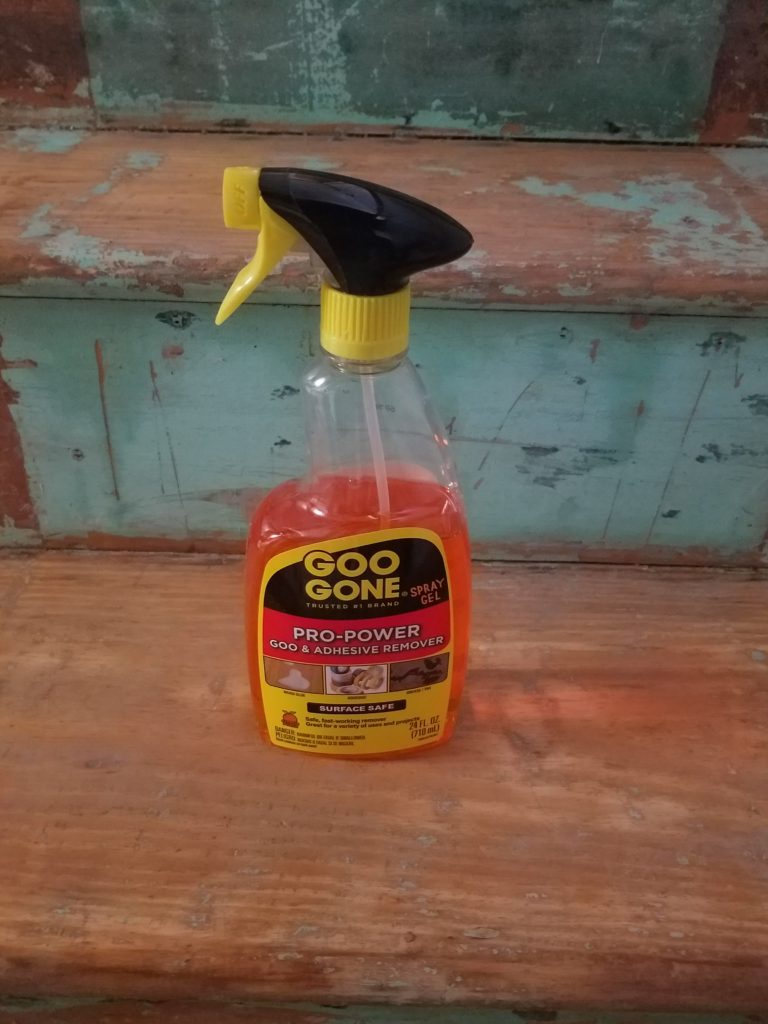
- Goo gone
- Paint
- Painters tape
- Gel Stain
- Polyurethane
- staple remover
- Rags
- Puck lights (optional)
My game plan
I removed the carpet and scraped off the stuck padding using a putty knife.
I removed the staples using a staple remover tool.
I removed the glue. This was the hardest part. I tried to sand it off but there was more glue than the sander could handle.
I applied Citristrip on the stair treads. I didn’t remove the paint on the risers because I planned on painting them.
The key to Citristrip is applying a generous layer. If you’re stingy it won’t work. Let it sit for at least 30 minutes.
You can leave it for longer periods, even overnight, just be sure to cover it with plastic wrap. Don’t let it dry. It’ll be much harder to scrape.
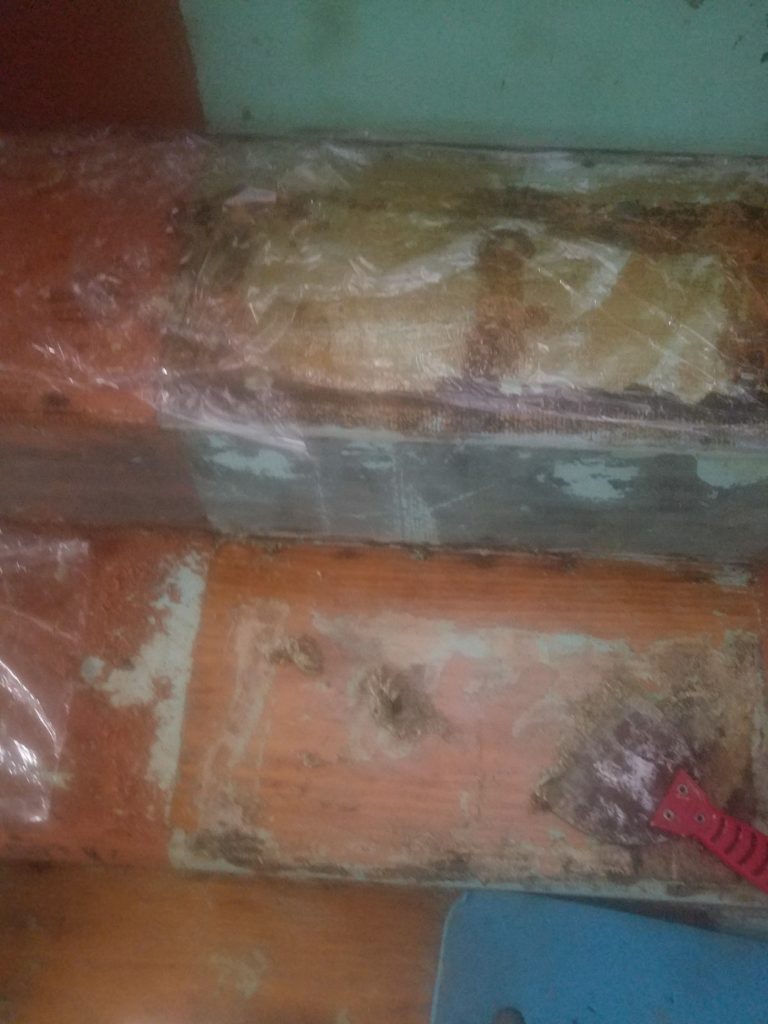
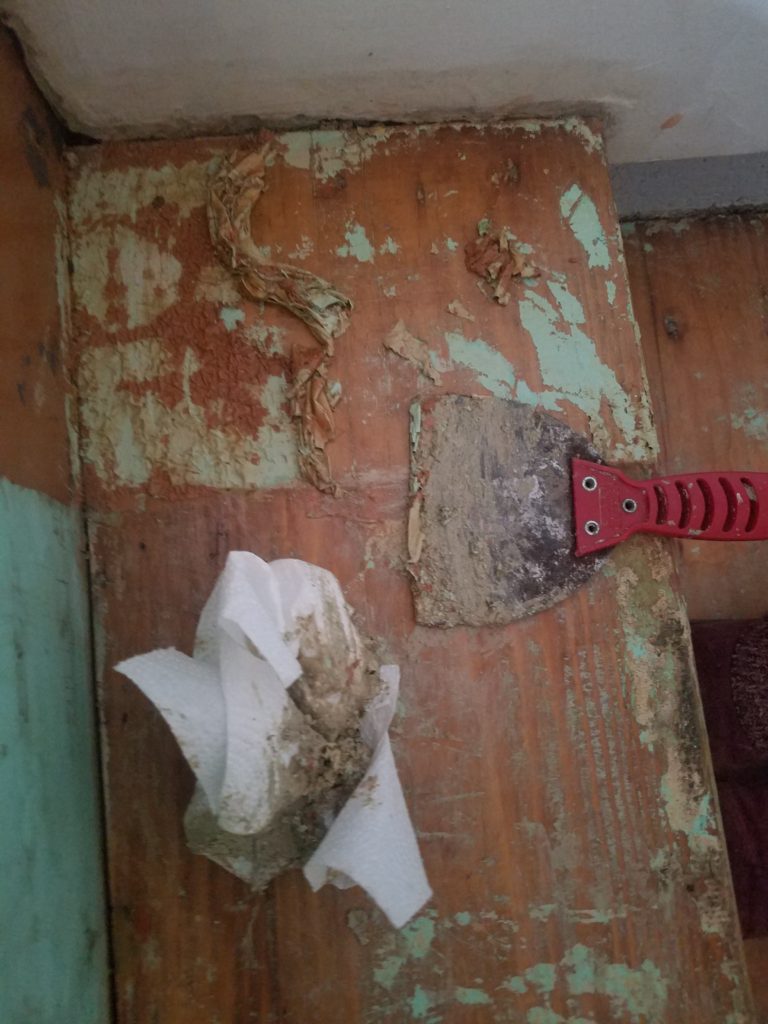
I scraped up the paint using a putty knife. Seeing it come up was so satisfying.

I used paper towels to wipe up the gook.
I sprayed Goo Gone to remove the glue. I let it sit for 20-30 minutes before scraping it.
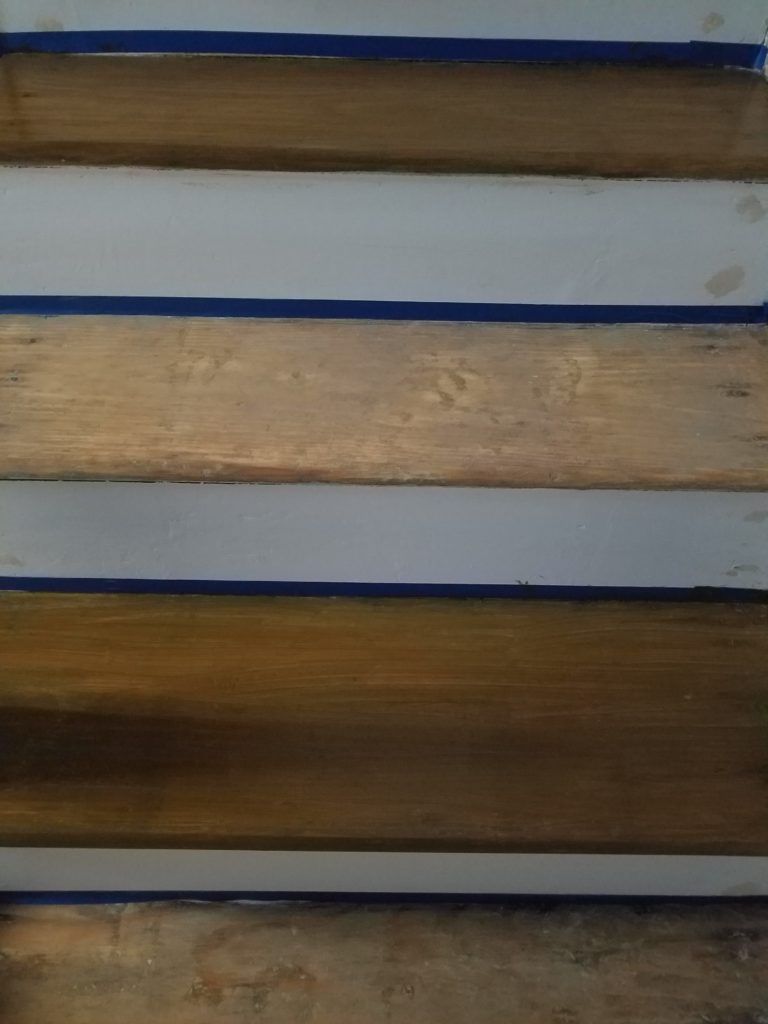
I sanded away the remaining paint and glue. I used 60 or 80 grit sandpaper to sand it smooth. My hand and arm hurt and I didn’t even bother trying to sand it bare. Next time I’ll rent an industrial grade sander — lesson learned.
I filled in the nail and staple holes with putty, let it dry, and sanded it.
I taped off the treads with painter’s tape and painted the risers. I enjoyed this work, esp. because you could so quickly see the result. I chose white to contrast the dark stain.
Nothing transforms a space like paint. I couldn’t wait to blot out the hideous color the former owner had chosen.
I stained the treads with gel stain after taping the risers. It was my first time using it. I discovered it watching Youtube and it looked like a match for my need. What I liked is that you don’t have to strip all the finish before applying it. You can even use it on veneers and painted surfaces.
You have to mix the gel stain before using it. Use a paint stick. Wear gloves and a mask. It’s thick, so mix it well.
The first stain I used was oak. The second kona. Ultimately, the oak stain was too light to cover the unevenness in the wood.
I initially used an old brush to apply the stain. Some of the treads were in poor shape so I thought I had to apply a thick layer to cover it. Big mistake! It was still tacky 12 hours later.

I almost panicked. I googled. Some people recommended wiping after applying the stain, while others didn’t. One person suggested that I apply another coat and wipe away the excess with a rag. That was the trick I needed. Thanks, random dude on the Internet!
Tip: I stained half the stairs at a time (every other) so that I could still get to the downstairs laundry.
I found using a rag/cloth more effective than a brush. I felt I had more control. I wiped the excess with a clean rag to avoid putting on too much stain.
Because the stain’s oil-based, I had to clean the brush with brush cleaner and the fumes were awful and smelled of gas — one more reason to use a rag instead. I ran the fan and kept the door open.
I let it dry overnight then applied another coat and let it dry again.
I applied polyurethane and did a bit of touching up and that was it!
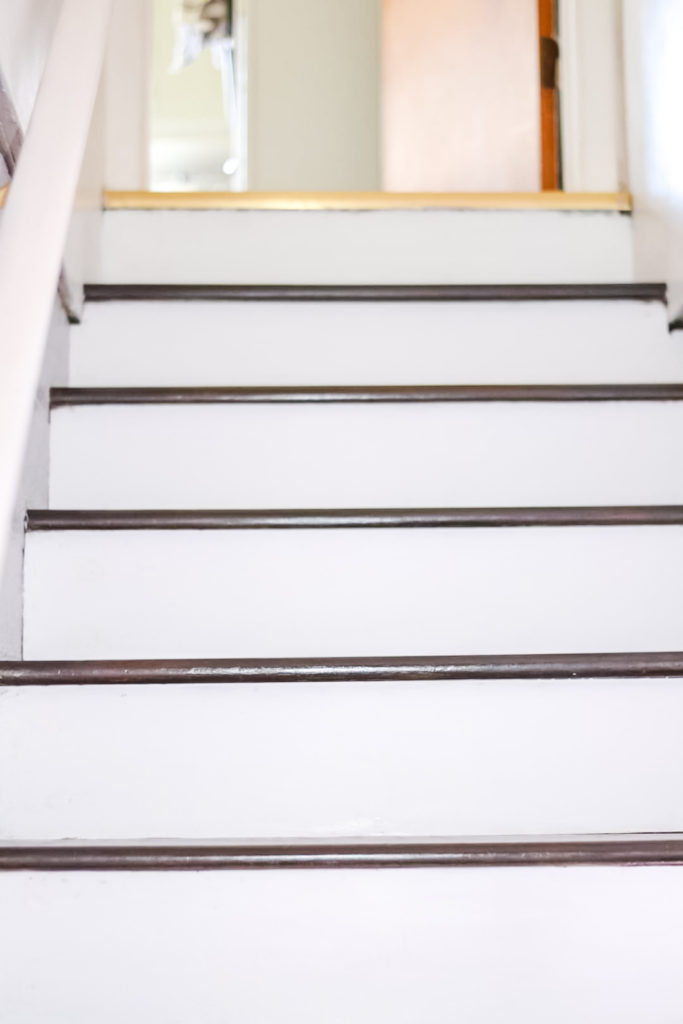
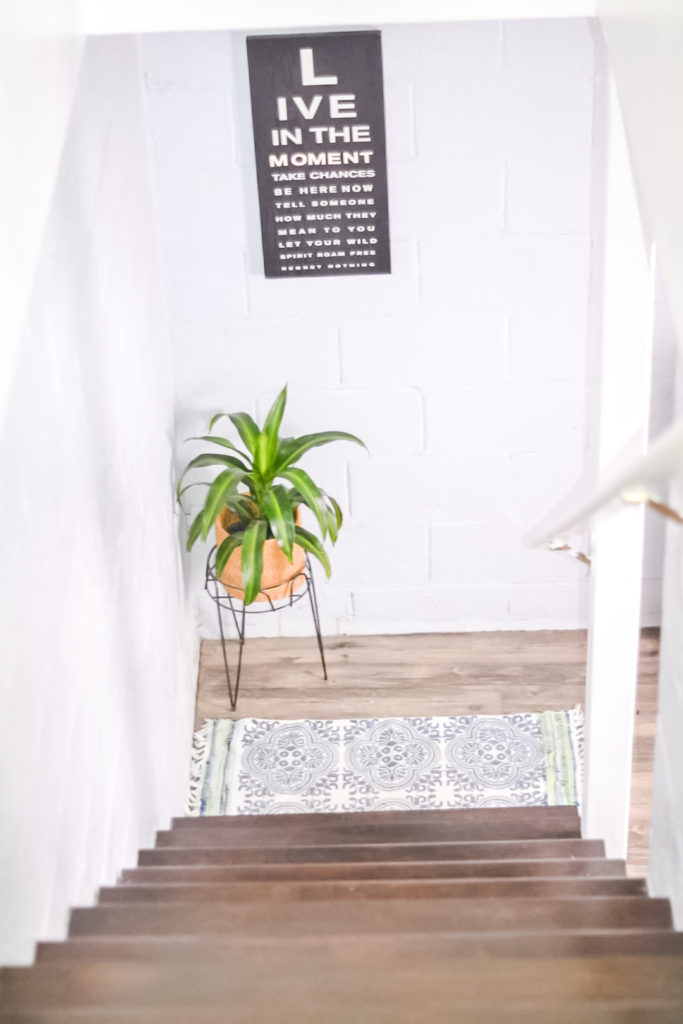
I had delivered us from the 50’s into modern day while simultaneously eliminating the last bit of carpet in our house. A win.
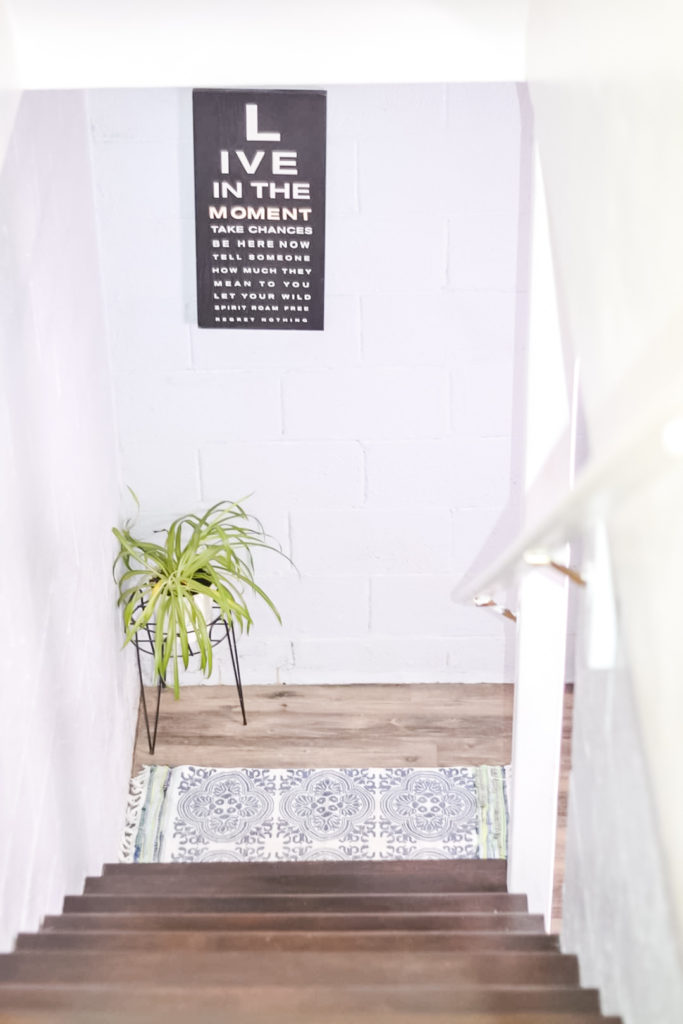
I put up these motion-sensing puck lights to brighten things.
I spent only $70 on this project because, as usual, I had some of the supplies on hand.
What’d I learn?
For starters, this was the most time-consuming, back-breaking project I’ve tackled. Stripping the steps alone took me a full 7 days. I scraped so much my arms felt they would fall off! The only reason they stayed attached is that hubby rubbed my arms at night.
The entire project took 10 days. I feel I could have practically rebuilt the stairs in that time.
Though I initially felt like I’d bitten off more than I could chew, I kept at it. I kept the end in mind a committed to the result I saw in my mind. Let me tell you: few things are more satisfying than making progress and eventually finishing what you start. Every trip down the stairs reminds me.
We walk our neighborhood regularly. Lots of people are doing yard work. We spotted signs of home renovation projects. We see that people are using the quarantine as an opportunity for getting caught up around their homes.
I love how the new refinished and stained stairs look. I hope you enjoyed this wood steps tutorial.
Jennabel
Related Post: How To Shiplap A Wall – Fast and Easy
Pin for later:

That transformation is amazing!! I was cracking up at your ugly sweater comment. I never really thought about it but the carpet really did look like sweater material. I’m so glad you were able to see that project through to the end despite some hiccups. Looks great!
Hi Jess,
LoL. It did look like an ugly sweater ha ha. It wasn’t an easy project for sure but was so worth it. Those carpet really needed to go 🙂
I hope to have my stairs comes out as nice as yours. I will follow your instructions. I’ve been wanting to revamp them for a while now. Great job!!!
Go for it! I’ve been wanting to do this project for a while and decided to finally tackle it. It’s a lot of work but it’s SO worth it. I’d love to see how your stairs turn out 🙂