Do you like farmhouse shiplap? Are you thinking of adding shiplap to your home? In this post, I will show you how to install shiplap the easy way.
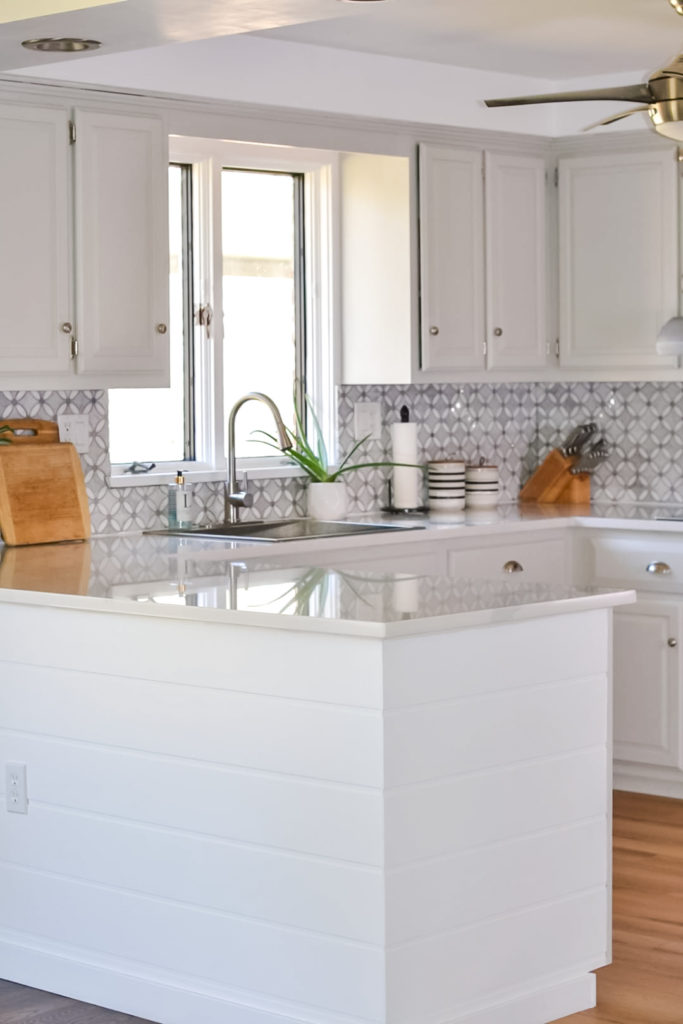
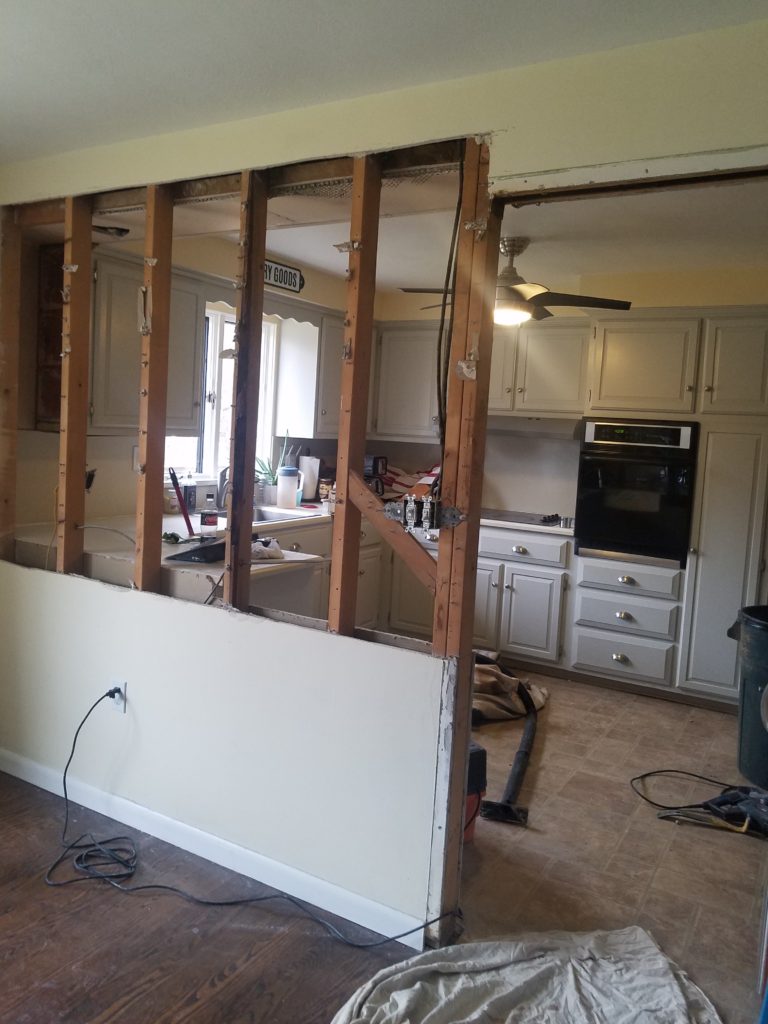
As you all know, our recent kitchen renovation is finished. Our main goal is to create an open layout to connect our kitchen to our dining and living space.
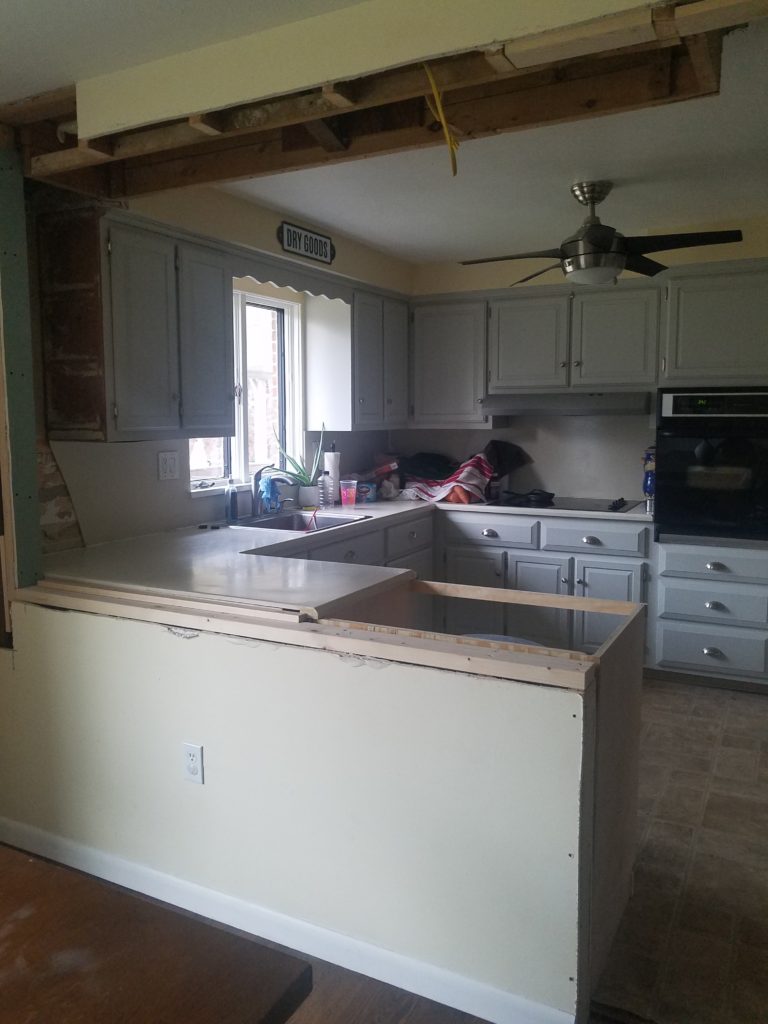
When the contractor removed the upper wall and added a custom cabinet it created a peninsula whose lower half was drywall — not very attractive. So I searched Pinterest for options.
I showed our contractor a shiplap post from Pinterest. It recommends plywood laid out one plank at a time. The issue was we didn’t want the added depth that comes with plywood. We wanted the baseboard on the peninsula, now on the left of the doorway, to align with the baseboard on the wall to the right. That is, we didn’t want one to feel as if it protruded more than the other. Details, friends. Details!
The other problem was the texture. Plywood can look rough even when painted. I wanted a shiplap veneer with a smooth finish. We went to Lowe’s to explore options.
I didn’t want narrow planks. I wanted 6-inch planks for a clean, modern look. We found a 4′ x 8′ panel for $35 and decided it was just what we were after.

Here’s how our contractor installed it.
FULL DISCLOSURE: THIS POST CONTAINS AFFILIATE LINKS.
You’ll need
- Shiplap panel
- Construction adhesive
- Nailgun or hammer
- Nails with small heads
- Stud finder
- Circular saw or any saw
- Wood filler
Directions
Find the studs to put the nails in. In our case, the wall was already open so the studs were visible.
Measure and cut the shiplap panel. If you are working around an outlet, remove the outlet cover and cut a hole to fit the outlet.
Put adhesive on the back of the panel.
Install and nail the panel on the wall. Use small nails so they can be hidden. Fill in the nail holes with filler and let it dry.
Sand and paint. The panel comes pre-primed so all you have to do is paint. I chose white.
These panels may appear to cost more than plywood shiplap until you factor in that your contractor is paid by the hour. This was the best option for us.
I also liked its uniformity. Had the plywood panels not been cut or laid exactly right, it would’ve driven me nuts! I’m pretty sure I have OCD. LOL
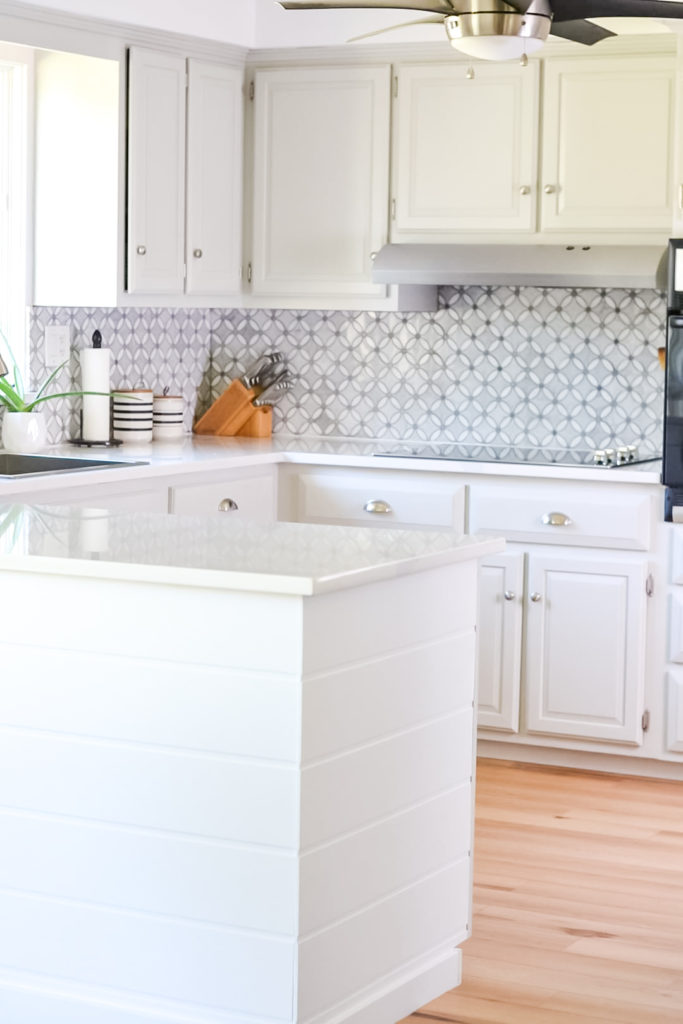
We decided against trim or molding for a seamless edge. He also installed different baseboards on the peninsula than those on the walls. I am so pleased with how it turned out!
I love how this DIY shiplap adds texture and a modern feel to the kitchen. It was a great decision for the space.
Jennabel
Related Post: A Modern Kitchen: Story of a $12K Renovation
Pin for later
